Physical Address
Timertau, Pr. Respubliki 19, kv 10
Physical Address
Timertau, Pr. Respubliki 19, kv 10


With the evolution of software requirements, many individuals find themselves in situations where their computer setup may not meet the latest demands of high-performance software. However, this doesn’t mean that efficient performance is out of reach for those using entry-level machines. By understanding some steps and strategies, users can enhance their experience significantly without the need for expensive upgrades.
A thorough comprehension of your desktop configuration is paramount. Each system has its own set of limitations; by recognizing and adapting to these constraints, you’ll discover a pathway to optimize your daily tasks. From adjustments in system settings to utilizing lesser-known features, a few tweaks can make a noticeable difference for users on basic desktop setups.
This article serves as a fundamental overview, taking you through essential processes tailored for everyday users looking to make the most of their existing hardware. With clear instructions and practical advice, you’ll be empowered to enhance functionality, providing a better work and leisure environment directly from your current desktop setup.
When setting up a computer with modest specifications, selecting the appropriate version of Microsoft’s latest operating system can significantly impact performance and usability. Understanding the differences between various editions allows for an informed decision tailored to your specific hardware capabilities and user requirements.
The primary editions available for installation include Home, Pro, and Education. For a standard desktop setup, the Home version is often sufficient. It includes essential features like the redesigned Start menu, Microsoft Store, and Windows tools for everyday use. The Home edition is optimized for basic computing tasks, making it ideal for users who mainly engage in browsing, office applications, and casual gaming.
If your hardware can handle it, the Pro version comes with additional functionalities that cater to advanced users. Features such as BitLocker encryption, remote desktop access, and enhanced security protocols provide added value for those needing more control or security for their setups. However, the heightened resource requirements may not be optimal for older systems, so users should weigh these factors carefully.
The Education edition is designed primarily for students and educational institutions, offering similar features to Pro but often at discounted prices or through institutional licensing. It’s worth considering if you qualify, as it typically comes with robust options for collaboration and management.
For cost-effective options, consider purchasing a valid license key from reputable online platforms. Prices vary widely, with Windows 10 Pro keys often available for around $20, while the 11 Pro edition can reach approximately $199 via the official store. Make sure to choose trusted sources for activation keys to avoid complications during setup.
Ultimately, the best choice for a system with limited capability is the edition that meets your core needs without burdening the machine. Assess your usage patterns and hardware specifics before making a decision, ensuring a smooth experience with the new interface and functionalities in your everyday tasks.
Next, make room for the installation by cleaning up your system. Remove unnecessary files and applications, which can enhance speed and create sufficient space. Using tools like Disk Cleanup and CCleaner can assist in this process.
Check your current drivers and update them to the latest versions. This ensures compatibility during installation. Graphics drivers, in particular, should be up to date, as the user interface in the latest systems can be resource-intensive.
Consider the activation method you plan to utilize. Whether it’s through a digital license linked to your Microsoft account or a retail key, understanding these options will streamline the installation experience. If opting for a retail key, acquire it from trusted marketplaces to avoid issues later.
Finally, verify that your motherboard’s firmware (BIOS) is up-to-date. An outdated BIOS can lead to installation hurdles. Access the BIOS setup during boot and check for updates from the manufacturer’s website if necessary.
By following these steps, your desktop will be well-prepared for a seamless transition to the latest operating system, ensuring a smooth installation experience.
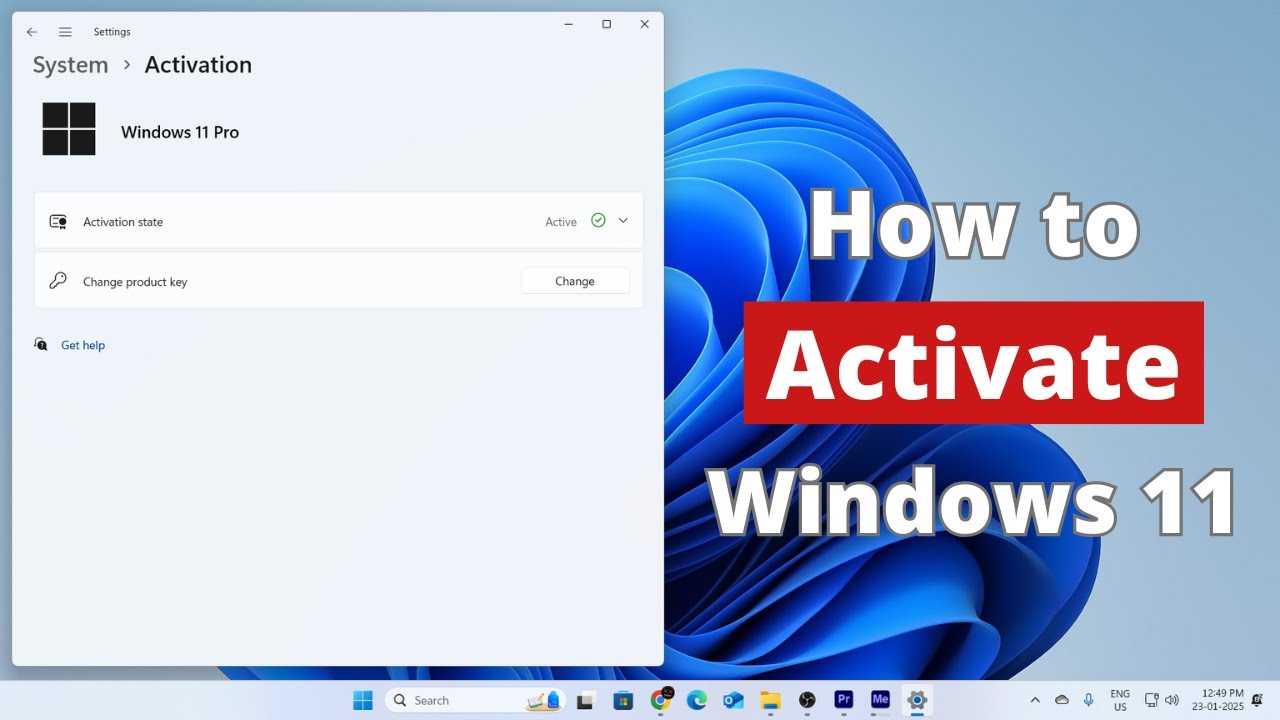
To successfully set up your system, follow this basic guide that outlines the necessary steps for activation. First, ensure you have a valid product key. This key can often be purchased from reliable online marketplaces, providing an affordable option compared to retail prices.
Begin by accessing the settings menu on your device. Navigate to ‘Update & Security’, where you will find the activation section. Here, you can enter the key you’ve obtained. Ensure that your internet connection is stable, as this will facilitate verification and licensing processes. If you’re setting up on a budget device, connectivity is crucial for downloading updates and required files efficiently.
After entering your product key, the system will automatically check its validity. Should you encounter difficulties during this stage, confirm that your key has not been previously used or is linked to another system. Consider using services like softwarekeep for assistance when troubleshooting issues related to activation.
Once the key is accepted, your system will initiate activation. This may take a few moments, depending on your desktop setup and internet speed. After successful activation, ensure your system is updated by navigating to ‘Windows Update’ in the settings. Regular updates help maintain system performance, especially on entry-level devices.
In cases where the activation fails, it’s prudent to double-check your key for any typographical errors. If problems persist, reaching out to support services or consulting forums can provide valuable troubleshooting tips tailored to your specific hardware configuration. Always keep your device’s specifications in mind to enhance compatibility with the latest features offered by the software.

Here are common challenges and solutions:
Checking if your hardware meets the minimum specifications is vital. Low-end machines may lack adequate RAM or processing power. Ensure your system has at least 4GB of RAM and a compatible processor for seamless operation.
Activation failures often stem from invalid or improperly entered product keys. Double-check the key for accuracy. Keys purchased from reliable sources like softwarekeep.com generally have a higher success rate.
An unstable internet connection can hinder activation. Confirm you have a stable network before proceeding. Use a wired connection if possible to reduce interference.
Incorrect system time or date can prevent activation. Ensure your machine’s date and time settings align with your current time zone. This simple measure can often resolve activation problems.
Running the activation process in compatibility mode may alleviate issues on older hardware. Right-click on the activation application and select a prior Windows version to emulate.
Your security software may block necessary processes for activation. Temporarily disable firewalls or antivirus programs during the activation process, but remember to re-enable them afterward for security.
Ensure your setup is fully updated. Missing updates can cause glitches during the activation process. Go to Settings and check for any pending updates that may need installation.
Following these steps should help troubleshoot common activation issues encountered on lower-end systems. If problems persist, consulting forums or support channels related to your setup may provide additional insights.
1. Lightweight Applications: Opt for software designed for low resource consumption. Programs like lightweight text editors and browsers can perform tasks without exhausting memory and CPU. Alternatives such as Notepad++ for coding or lightweight browsers like Opera can significantly improve the overall user experience.
2. Disabling Startup Programs: Many applications set themselves to launch on boot, which can slow down the startup time and overall performance. Access the task manager by right-clicking the taskbar and selecting “Task Manager.” In the Startup tab, disable any unnecessary applications to ensure a faster boot time.
3. Adjusting Visual Effects: Windows 11 comes with vibrant visual effects that can strain older hardware. Navigate to System Properties, then Performance Settings, where you can set it to “Adjust for best performance.” This will disable many of the unnecessary effects and provide a smoother interface.
4. Storage Management: Utilizing disk cleanup tools can help remove temporary files and system clutter. Regularly freeing up space ensures that your system runs effectively. Additionally, consider using lightweight disk management software to optimize storage and performance further.
5. Regular Updates: Staying updated is essential, even for low-spec machines. Regular updates often include performance improvements and security patches that can help your system run more smoothly. Set your system to update automatically to avoid missing crucial enhancements.
6. Background Apps: Limit the number of background applications running. Head to Settings, select Privacy, and then Background apps to toggle off apps that don’t need to be running continuously. This can conserve resources and provide a noticeable boost to performance.
7. Resource Monitoring: Using the Resource Monitor can provide insights into which applications or processes are consuming the most resources. Identifying resource-heavy applications allows you to make educated decisions about which programs to keep active.
8. Increasing Virtual Memory: If physical RAM is limited, increasing the virtual memory can help. Go to System Properties, click on Advanced system settings, and under the Performance tab choose Settings. Then, under the Advanced tab, adjust the virtual memory settings to optimize performance.
9. Third-Party Optimization Tools: Consider using trusted third-party optimization software to enhance your machine’s performance. These tools can automate the clean-up process, ensure programs are up to date, and provide additional features that a standard system doesn’t cover.
By implementing these approaches, you can tailor your basic configuration for a more responsive computing experience. For those seeking to move beyond the standard setup, consider finding best deals on Windows 10 and 11 to explore potential upgrades that can provide further enhancements to your desktop experience.


