Physical Address
Timertau, Pr. Respubliki 19, kv 10
Physical Address
Timertau, Pr. Respubliki 19, kv 10

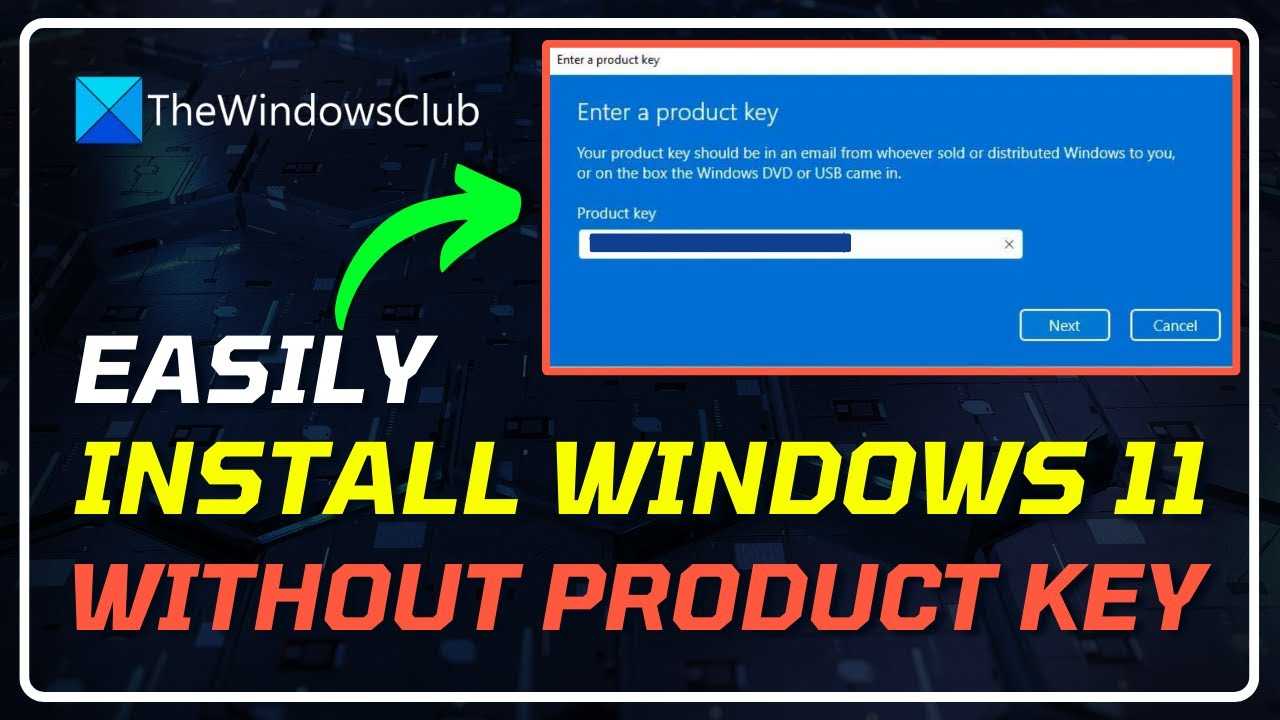
Transitioning to the advanced iteration of the operating system offers users enhanced features and a modern interface. However, the activation phase remains a critical step that often raises questions, particularly for those utilizing OEM keys. Understanding how to effectively manage this aspect can lead to a smoother experience, especially for those looking at budget setups.
When implementing the activation process, it’s vital to grasp the nuances involved with the acquisition of OEM keys. These licenses tend to be more cost-effective, appealing to those who seek to maximize their investment while ensuring compliance with the licensing agreements. Proper research and selection of reliable sources for these keys are fundamental for a hassle-free experience.
As many users venture into this new version of the software, they often encounter the challenge of ensuring a seamless transition without interruptions. Adopting strategies that streamline the activation process minimizes potential frustrations, paving the way for a more enjoyable encounter with all the innovative capabilities that this system has to offer.

Before initiating a silent activation process, it’s essential to ensure your machine meets all requirements. Start by verifying compatibility; Windows 11 demands specific processor capabilities and minimum RAM, such as 4GB. Utilize the PC Health Check tool to confirm these specifications. This tool can help assess the current hardware configuration and provide guidance on any upgrades needed.
Another critical aspect is to maintain a budget setup. Consider the storage space; at least 64GB of available storage is recommended. Cleaning up unnecessary files and applications can free up space and enhance performance during the installation. Use built-in tools like Disk Cleanup or third-party applications to remove obsolete data effectively.
Prior to the silent activation, ensure your current operating system is updated. Install the latest patches and security updates to avoid potential conflicts during the process. These updates can improve system stability and reduce compatibility issues.
Running a system check for any existing issues is advisable. Use the System File Checker (SFC) tool to scan for corruption and repair any problematic files automatically. This preemptively addresses issues that could interfere with the activation process.
Finally, ensure you have a reliable and authentic source for your activation key. Using trusted marketplaces can significantly ease the silent activation experience, minimizing obstacles during implementation.
For further resources on system preparation and compatibility, refer to Microsoft’s official documentation: Microsoft Specifications.
Start by acquiring the Media Creation Tool from Microsoft’s official site. Ensure you have a USB drive with at least 8GB of available storage. This device will be formatted, so back up any vital data before proceeding.
After launching the tool, select “Create installation media for another PC.” Choose the language, edition, and architecture that fits your requirements. Selecting the correct options is crucial to compatibility with your hardware.
When prompted, choose “USB flash drive” as your media type. The tool will now download the necessary files and transfer them to your USB drive. Be patient, as this process may take some time based on your internet speed.
Ensure the USB drive is connected and appears listed in your system preferences. This method streamlines the process of silent activation and allows the use of OEM keys for a smooth transition to a new setup.
Once completed, safely eject the drive and use it to boot your computer. Enter the BIOS/UEFI settings to adjust the boot priority, ensuring your USB drive is set to boot first. This step is essential for initiating the installation process.
Finally, follow the on-screen instructions to proceed with system setup. A well-prepared USB will facilitate an effective installation experience.
Leveraging the command line for system setup offers precision and efficiency. By utilizing scripts, you can automate procedures, ensuring a swift and hassle-free environment configuration. To achieve a seamless activation of your operating system, focus on silent activation methods, which streamline the process without user intervention.
First, prepare an unattended answer file, known as `autounattend.xml`. This file dictates all installation parameters and can include specifications for system settings, user account information, and partition layouts. Utilizing this approach can significantly reduce installation time, making it ideal for a budget setup.
To initiate the automated process, access the command line interface and run the deployment command. A common command used is:
DISM /Apply-Image /ImageFile:"C:pathtoinstall.wim" /Index:1 /ApplyDir:C:
This command applies the operating system image to your C: drive. Follow it by configuring the settings as detailed in your answer file. Once executed, you will have a configured system ready for silent activation.
For users looking to obtain a valid product license, make sure to purchase from trusted sources. You can find options for legitimate keys at where to buy Windows officially. This ensures not only compliance but also a smooth activation experience without disruptions.
Incorporating oemkeys facilitates seamless deployment environments. To configure unattended setups for your operating system, you’ll need to generate an answer file (unattend.xml) that defines installation parameters. Utilize tools such as Windows System Image Manager (WSIM) to create and edit this XML file effectively.
The components of the answer file include various configuration passes: “WindowsPE,” “Offline Servicing,” and “Specialize.” Each section allows you to automate specific tasks during different stages of the installation process. For instance, in the “WindowsPE” pass, specify the installation source, disk partitioning, and other hardware settings.
When preparing for silent activation, incorporate your oemkeys directly into the unattend.xml file under the “Specialize” pass. This ensures that the operating system activates automatically once it reaches the desktop phase, eliminating the need for any user intervention. Additionally, confirm that the licensing parameters align with the version of the operating system being deployed, ensuring compliance and functionality.
For comprehensive system customization, leverage settings that configure user accounts, install software, and apply specific network configurations. By strategically building this unattended answer file, you can achieve a streamlined, hands-free process, significantly reducing setup times while maintaining consistency across all installations.

Begin by checking the activation status. Open the system settings and navigate to the activation section. A valid license is indicated by a message showing that Windows is activated. If you are using OEM keys, these should seamlessly link to your hardware, confirming authenticity.
To examine system performance, access the Task Manager and observe CPU, memory, and disk usage. Look for any anomalies that could indicate a malfunction. High usage may suggest drivers are lacking. Consider updating drivers via the official manufacturer’s website.
Another critical aspect is to run built-in diagnostics. These tools can help identify hardware issues or software conflicts. You may also utilize third-party tools tailored for performance evaluation, aligning with your specific needs.
Lastly, perform regular system updates. This approach not only enhances functionality but also fortifies security, especially important when utilizing online resources or services.


