Physical Address
Timertau, Pr. Respubliki 19, kv 10
Physical Address
Timertau, Pr. Respubliki 19, kv 10

Memory malfunctions can lead to unexpected complications when trying to activate your operating system, especially with a version as widely used as Windows 10. Many users encounter frustrating moments when the activation process fails, seemingly without reason. Fortunately, there are quiet solutions tailored specifically for these situations, focusing on smooth resolution and system stability.
Several of the most effective fixes involve leveraging built-in features and community-supported applications designed for simplicity and efficiency. These methods prioritize restoring functionality without delving into complex configurations, making them accessible even for those less tech-savvy. Users experiencing activation hiccups following memory errors have documented considerable success with these practical remedies.
This guide walks you through the top fixes available for addressing Windows 10 activation issues stemming from memory problems. With concise instructions and targeted techniques, you’ll be well-equipped to restore your system’s activation status swiftly and effectively. Join us as we explore the best practices and tools that can simplify this often-challenging process.
Changing or upgrading your system’s memory can trigger various activation problems. Users may notice the following signs of activation failure:
First, you might experience unexpected error messages indicating that the currently running version is not genuine. This often occurs when the system fails to recognize the changed configuration, leading to concerns about software authenticity.
Another clear symptom is the inability to customize system settings. Attempting to access personalization features may result in restrictions or greyed-out options, suggesting that the operating system isn’t fully functional due to activation issues.
Frequent prompts to activate can also be a telltale sign. If reminders appear multiple times and activation attempts result in failure, it is time to investigate further. Such alerts can be annoying and indicate that underlying issues need addressing.
System performance may degrade as well. Users might experience sluggishness or crashes during basic tasks. This can stem from malfunctioning activation processes, affecting overall stability.
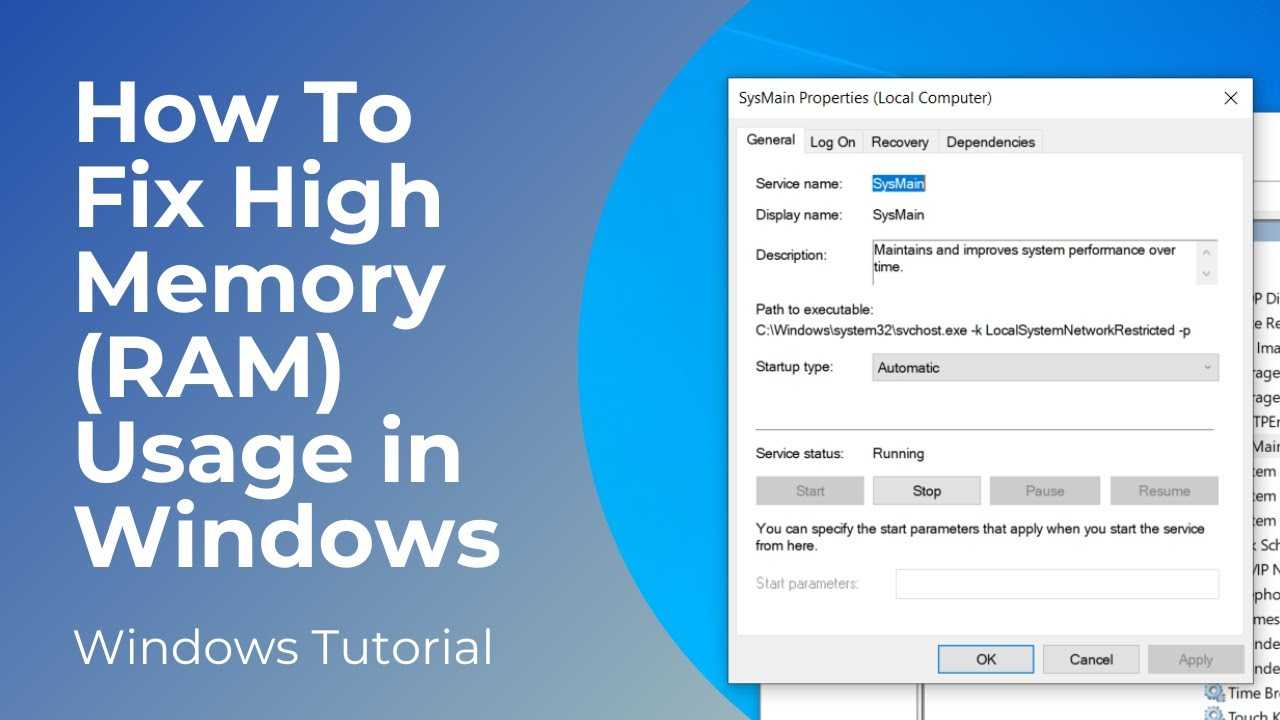
Utilizing quiet methods alongside common fixes can simplify finding a resolution. Diagnostic tools can provide insights into the state of the activation and memory interface, guiding users effectively through troubleshooting steps.
Recognizing these symptoms early can prevent further complications, aiding in swift restoration of system functionality following memory modifications. Be prepared to explore possible fixes to ensure smooth system performance and user satisfaction.
Follow these steps to leverage this tool:
Once you initiate the troubleshooter, it will scan for common issues related to your product activation. It checks whether the modifications made to your device hardware have affected your current licensing status. This proactive approach can lead to the swift restoration of activation without the need for a new license.
In case the troubleshooter doesn’t resolve the matter, consider exploring some of the top fixes available online. Affordable platforms, like trusted reviews on buying licenses, provide insights and options for acquiring new activation keys should that be necessary.
Additionally, softwarekeep also offers various solutions geared towards fixing activation hurdles. Remember to check for and apply any pending updates, as they may also affect activation status following significant hardware changes.
Once the Command Prompt is open, you can execute specific commands to reset the software licensing service. Use the following command:
slmgr.vbs /upk
This command uninstalls the current key. Make sure to check the output, as it will confirm whether the uninstallation was successful.
Next, re-register the licensing service with the command:
slmgr.vbs /rearm
This resets the licensing status. It may require a system reboot, so be prepared to restart your computer for the changes to take effect.
Finally, to enter a new product key, execute:
slmgr.vbs /ipk
Replace
After entering the new key, confirm that the activation was successful with:
slmgr.vbs /ato
This triggers Windows to attempt an online activation, ensuring that your system aligns with licensing requirements.
By incorporating these quiet tools, users often find these methods to be among the top fixes in resolving software activation hurdles. For further guidance and updates on related software issues, consider visiting SoftwareKeep, an authority in technical support.
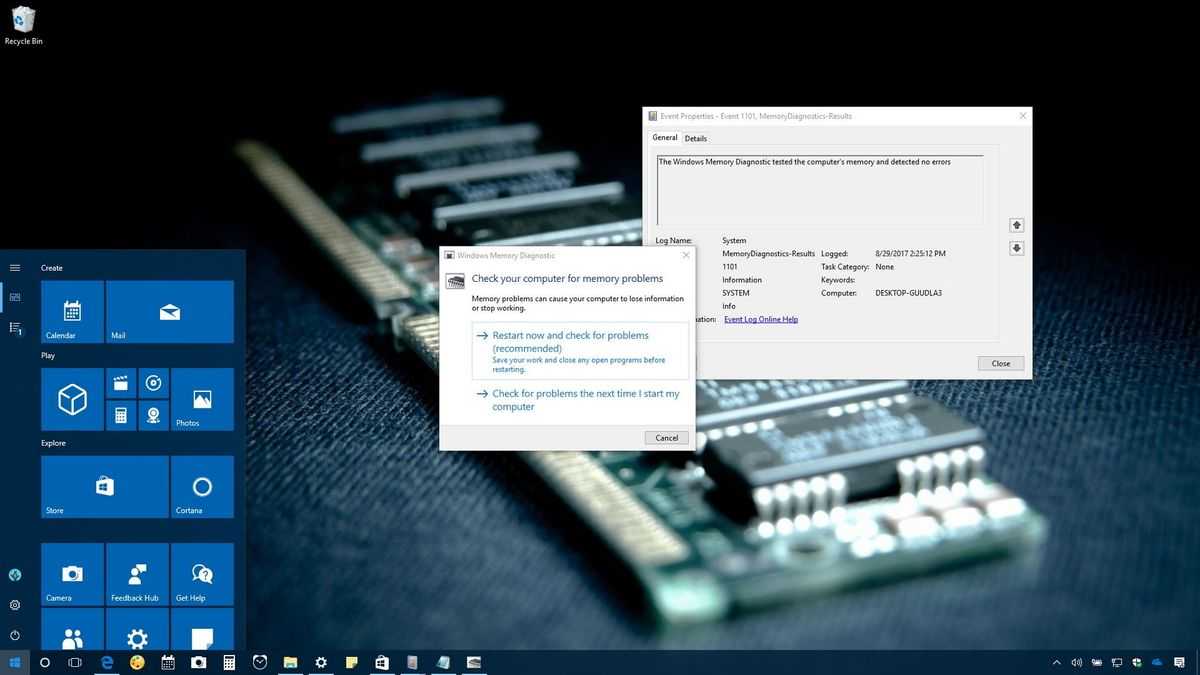
Utilize quiet tools like memory diagnostics provided in BIOS to analyze the functioning of the installed modules. Look for any settings that could be misconfigured, like XMP profiles, which optimize RAM performance but might also create instability. Setting memory frequency to a standard level, such as DDR4-2400, can eliminate potential overclocking issues that could interfere with system integrity.
After verifying and adjusting these settings, reboot the computer and check your activation status again. This process might resolve the problems affecting your activation on the operating system. Implementing these top fixes not only aids in ensuring the smooth operation of your device but also solidifies your activation status, effectively addressing concerns stemming from memory conflicts.
To initiate the restoration, access the System Restore feature via the Control Panel or by searching in the Start menu. Choose a restore point prior to the onset of your memory-related difficulties. This action may resolve complications and potentially restore functionality without extensive diagnostics.
Before proceeding, it’s prudent to back up important files, ensuring that data remains safe during the process. While the rollback generally preserves personal data, some applications may need reinstallation. After the completion of the restoration, evaluate system performance and determine if the issues have been mitigated.
In cases where standard mechanisms do not yield results, exploring specialized solutions available on websites like softwarekeep can provide additional support options. Addressing glitches efficiently is key to maintaining your system’s performance.
| Step | Action | Note |
|---|---|---|
| 1 | Access System Restore | Search in Start menu or Control Panel |
| 2 | Select a Restore Point | Prior to RAM complications |
| 3 | Backup Important Files | Prevents data loss |
| 4 | Initiate Restoration | Follow prompts to complete |
| 5 | Test System Performance | Check for resolved issues |
Each of these steps aids in not just troubleshooting but also in applying the relevant Windows 10 key RAM fix strategies, ensuring a more stable computing experience over time.


