Physical Address
Timertau, Pr. Respubliki 19, kv 10
Physical Address
Timertau, Pr. Respubliki 19, kv 10

In the dynamic world of online streaming, ensuring a seamless connection can significantly enhance your viewing experience. This setup guide offers precise steps and valuable insights on configuring a high-performance virtual private network tailored for your streaming needs. Here, we will navigate through the process of integrating a fastestvpn twitch vpn effectively, especially if you’re working with less powerful machines.
Throughout this article, you will discover not only how to establish a secure connection but also tips for maintaining optimal performance while streaming. Special attention will be given to the distinct requirements of a low-key operating environment, catering to users who might not have access to high-end hardware. Get ready to elevate your streaming quality effortlessly and enjoy a smoother experience.
Using this guide, you can master the configuration of your VPN service to bypass regional restrictions and enhance security. Additionally, we will explore potential issues that might arise during setup and how to troubleshoot them, ensuring you’re ready for uninterrupted streaming sessions. Let’s dive into the specifics!

| Plan Type | Monthly Price | Speed Limit | Simultaneous Connections |
|---|---|---|---|
| Basic Plan | $9.99 | Standard | 1 |
| Standard Plan | $14.99 | High-speed | 3 |
| Premium Plan | $19.99 | Lightning | 5 |
Following the setup guide is recommended for seamless integration. Consider aligning your selected plan with anticipated traffic for the best experience. By combining these steps with thorough research, you’ll find a service that optimally fits your streaming goals and budget.
To optimize your streaming experience while minimizing noise from your device, follow this straightforward installation guide for a renowned online privacy service. Adhering to these steps will not only enhance your connection but also contribute to a quieter environment while enjoying your favorite content.
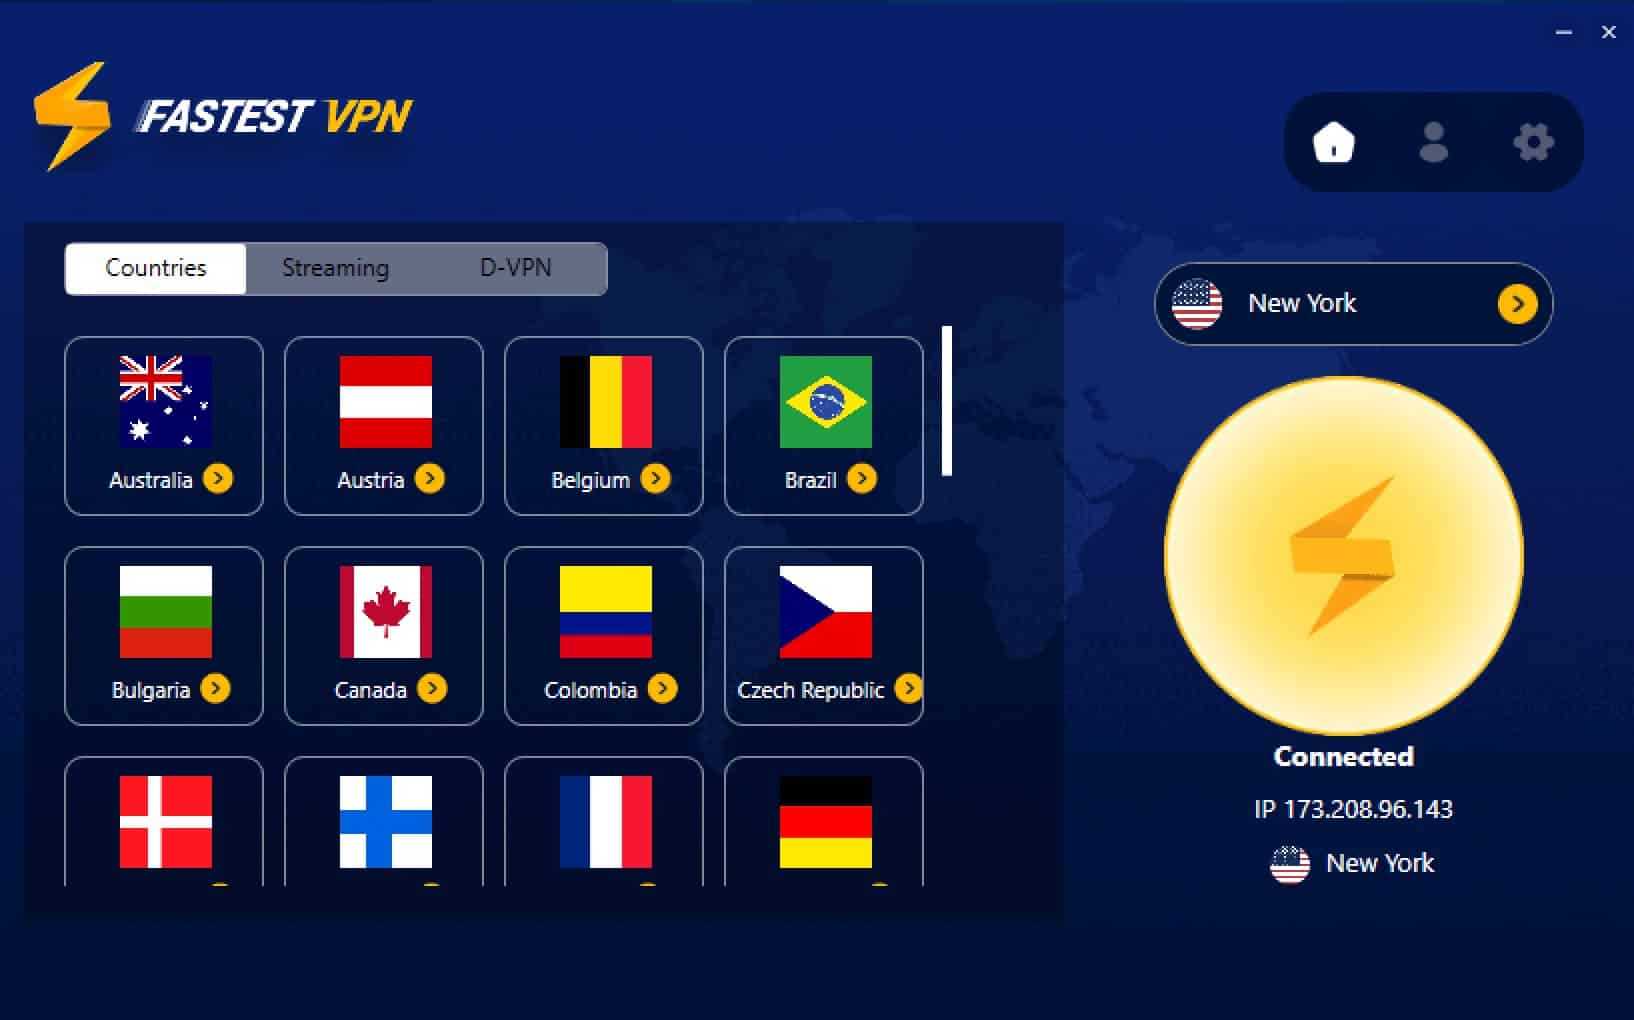
Step 1: Choose the Correct Application
Visit the official website and select the version compatible with your operating system (Windows, macOS, etc.). Ensure you download the latest version to take advantage of any performance enhancements and security updates.
Step 2: Installation Process
Once the download is complete, locate the installation file. Double-click the file to initiate the setup. Follow the on-screen instructions, which typically involve accepting the terms of service and selecting installation preferences.
Step 3: Configure Your Preferences
After installation, launch the application. You will be prompted to log in with your credentials. If you don’t have an account yet, you can create one directly from the app or website. Additionally, configure your settings for automatic startup, connection preferences, and choose your desired server location, ideal for enhancing your streaming experience.
Step 4: Connection Establishment
Once everything is set, click on the connect button. The application will initiate a secure connection. This may take a moment, but it ensures reliable access to the internet while safeguarding your data from potential threats.
Step 5: Streaming Setup
With the connection established, head to your preferred streaming platform. Verify that your IP address reflects the connected server, allowing uninterrupted access to content. Stream in high quality with minimal latency, enhancing your viewing experience.
Table: Key Features Comparison
Here’s a quick overview of essential features you may consider when selecting your streaming setup:
| Feature | Low-Noise Option | High-Performance Option |
|---|---|---|
| Connection Speed | Excellent | Outstanding |
| User-Friendly Interface | Simple | Advanced |
| Device Compatibility | Multiple | Extensive |
By diligently following this concise guide, you’ll set up your internet privacy solution effectively, which can enhance your streaming sessions without the distraction of noisy hardware. Remember to check official resources and community forums for additional support and tips tailored specifically for optimizing your setup.
Achieving fluid streaming experiences on broadcasting platforms demands meticulous adjustments within your VPN configuration. To optimize performance on a streaming service, focus on specific settings to ensure low latency and high bandwidth. Here’s a focused setup guide:
1. Choose the Right Server Location: Select a server that is geographically closer to the target audience or the region of the service. For example, connecting to South American servers may yield better results when streaming locally.
2. Optimize Protocol Settings: Experiment with different VPN protocols. OpenVPN and IKEv2 are typically robust choices, but WireGuard offers faster speeds due to its modern design. Adjust the protocol in the VPN client settings for potentially improved streaming quality.
3. Enable Split Tunneling: If your VPN client supports it, enable split tunneling. This feature allows you to direct only your streaming application through the VPN, while other traffic remains unaffected, helping to reduce congestion.
4. Adjust Encryption Levels: High-encryption levels can impact speed. If utmost security is not a priority during streaming, consider using moderate encryption to enhance connection speed without compromising much on security.
5. Limit Bandwidth Limitations: Investigate any bandwidth limitations imposed by the VPN subscription. Configurations or plans with unlimited bandwidth are preferable for uninterrupted high-quality streaming.
6. Test Connection Speeds: Regularly perform speed tests before starting your live broadcast. Several tools are available online to check real-time bandwidth, allowing you to pinpoint speeds and optimize server selection accordingly.
| Setting | Recommendation |
|---|---|
| Protocol | WireGuard |
| Server Location | Local Server |
| Speed Test | Before Streaming |
| Split Tunneling | Enabled |
By tailoring these settings, not only will you enhance your experience while broadcasting, but also mitigate common issues such as buffering and connectivity failures. Adapting to fluctuating requirements as you stream will further cement your reliability as a broadcaster.
Encountering obstacles while attempting to connect to broadcasting platforms can be frustrating. This setup guide offers insights into how to address frequent challenges when using a virtual private network during your streaming experience.
Connection Errors: One of the primary issues users face is connection instability. If you experience frequent disconnections, try switching to a different server location within your VPN application. This can resolve congestion issues that may be affecting your current server.
Latency and Buffering: During your streaming session, latency can interrupt the flow. To fix high ping times, consider using a server that is geographically closer to your location. This can significantly optimize your experience when engaging in real-time broadcasts.
| Issue | Symptoms | Possible Solutions |
|---|---|---|
| Connection Issues | Frequent dropouts, inability to connect | Switch server, restart application |
| High Latency | Buffering, lag in live streams | Change to a closer server |
| Access Restrictions | Blocked content, error messages | Try different server configurations |
Access Restrictions: Sometimes, specific content may be blocked. If encountering error messages about content restrictions, test another server or switch to a different protocol within the VPN settings. This may resolve the issue, allowing access to desired streaming content.
DNS Leaks: Another common problem is DNS leaks, where your real IP address may be exposed. Utilize tools available online to check for DNS leaks after establishing a connection. If found, consider using the built-in DNS settings provided by your VPN.
By applying these troubleshooting tactics, users can enhance their overall experience while utilizing a virtual private network and enjoy uninterrupted access to their favorite content.
When evaluating your connection in the context of streaming, consider performing tests at various times of the day. Network congestion fluctuates due to peak usage hours, impacting your results significantly. Record the download speed, upload speed, and latency to establish a baseline for comparison. Aiming for at least 10 Mbps upload speed is ideal for uninterrupted video content delivery.
In addition to speed, consistency matters. Try repeated tests over a week to verify the stability of your connection. Consistent results indicate a reliable connection conducive to high-quality performance. If discrepancies arise, inspect your hardware and consider resetting your router to optimize processing power and reduce potential disruptions.
| Test Parameter | Recommended Value |
|---|---|
| Download Speed | At least 25 Mbps |
| Upload Speed | Minimum 10 Mbps |
| Ping | Below 50 ms |
| Jitter | Less than 30 ms |
If your testing reveals less-than-ideal results, it may be time to examine your local setup. Connecting directly to your modem can eliminate potential interference from Wi-Fi. Utilizing an ethernet cable often enhances performance stability. If ongoing issues persist, consulting with your internet service provider might offer further optimization options specific to your streaming needs.


