Physical Address
Timertau, Pr. Respubliki 19, kv 10
Physical Address
Timertau, Pr. Respubliki 19, kv 10

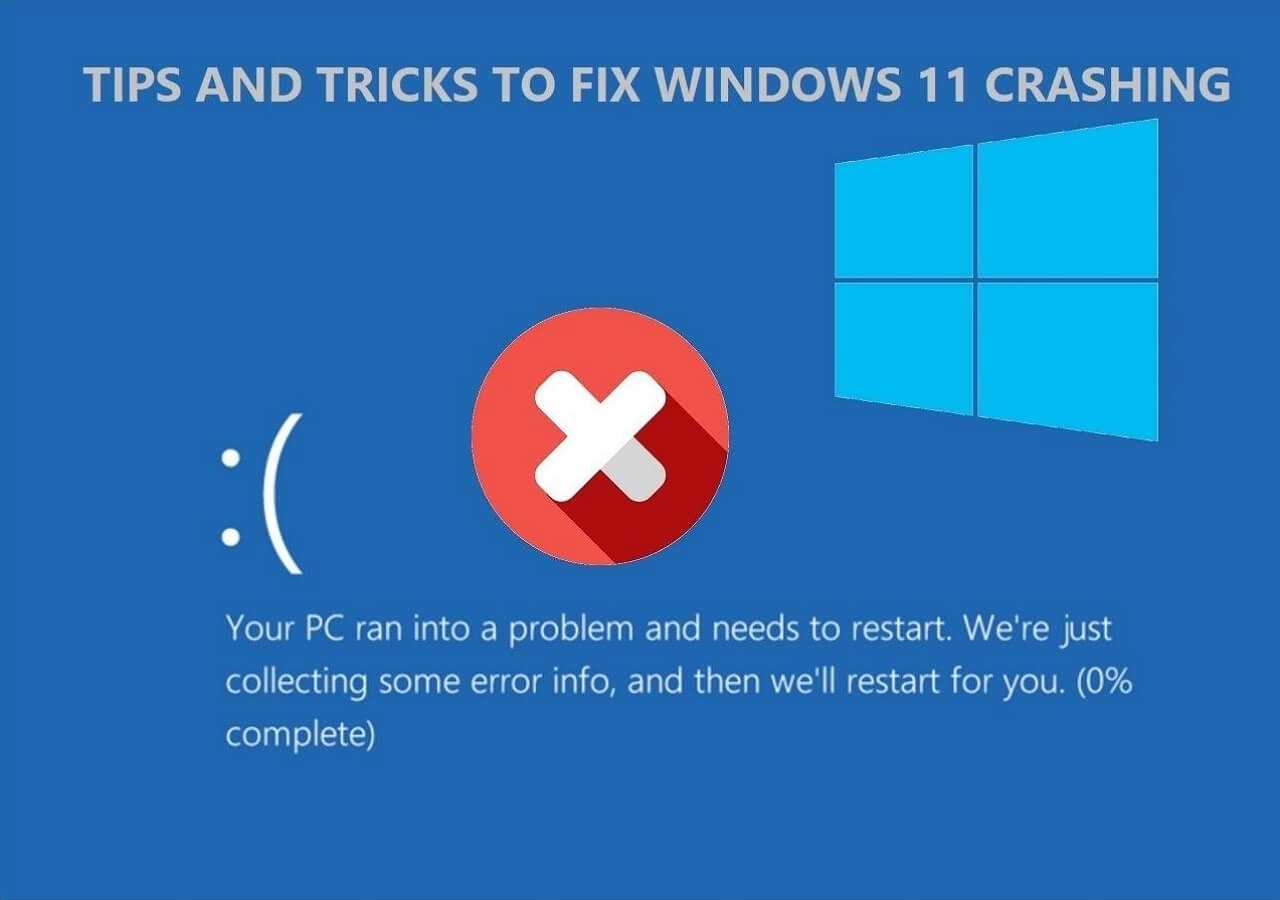
Experiencing a problematic incident during a 5G transmission can lead to unexpected losses, particularly when you find yourself in dire need of your activation credentials. The recent surge of 5G technology has notably transformed our connectivity experiences; however, it has also introduced some challenges. To avoid the frustration of searching aimlessly for your activation details, this guide focuses on practical methods to retrieve them promptly and efficiently.
With tools like keyverified, the process can turn from daunting to straightforward. This article outlines actionable steps that not only aid in restoration but also provide you with insight into potential fixes related to 5G connectivity disruptions. Engage with this recovery guide to get back on track with minimal hassle and optimal speed. Understanding the protocols and procedures will empower you to troubleshoot and resolve issues with ease.
Whether you’re seeking immediate activation assistance or a long-term solution for future incidents, the information shared here is tailored to keep your experiences seamless. Dive into our recovery guide designed explicitly for users grappling with the aftermath of a 5G incident. Let’s ensure you never have to scramble for your important activation details again.

Open the Settings application through the Start menu or by pressing Windows + I. Navigate to System and then select About from the sidebar. Under the Windows specifications section, you will find a description of your installation, including the license status, which will be indicated as “Activated” or “Not activated.”
If your installation is not verified, you may need to take steps outlined in various recovery resources. Consider this a crucial troubleshooting guide for any discrepancies that arise post-5G interruption. You can quickly check for activation status using the command prompt. Press Windows + R, type cmd, and hit enter. Then, input the command slmgr /xpr to pop up a window detailing your activation status.
Table below summarizes the steps for checking your system’s license status:
| Step | Action | Notes |
|---|---|---|
| 1 | Open Settings | Windows + I |
| 2 | Select System | Then choose About |
| 3 | Check Activation Status | Located under Windows specifications |
| 4 | Command Prompt | Use slmgr /xpr for detailed status |
For additional insights into licensing and activation, visit the Microsoft Support site, which serves as a reliable resource for users in the USA.
Start by checking the physical packaging of your installation media. In many cases, the license is printed on a label attached to the case or included in a pamphlet. If you purchased online, look for the confirmation email that contains the purchase details; the key is often included in this email.
If none of these options are available, consider the following steps:
For added safety, consider documenting your key in a secure location. This ensures easy access in case of similar incidents in the future. Keeping a physical or digital copy helps prevent unnecessary complications from a 5G interruption or hardware failure.
Should you still be unable to locate your original license, refer to a comprehensive recovery guide. Explore various methods to obtain a new key if necessary, and remember, tools that provide a 5g crash fix may also assist in stabilizing your system.
| Method | Average Time Required | Success Rate |
|---|---|---|
| Command Prompt | 2 minutes | 85% |
| Settings | 1 minute | 70% |
| Third-Party Software | 5 minutes | 90% |
Ultimately, staying proactive by keeping records and implementing preventive measures can greatly aid in avoiding future obstacles.
For those aiming to retrieve their activation information post-troubles, Command Prompt offers a straightforward method. Follow this recovery guide to simplify the process.
Step 1: Press Windows + R to open the Run dialog. Type cmd and hit Enter. This will launch the Command Prompt.
Step 2: In the Command Prompt window, input the command: wmic path SoftwareLicensingService get OA3xOriginalProductKey. Press Enter.
Step 3: The Command Prompt will display your product information if it’s stored in the BIOS. If your system does not return a result, manual alternatives may be required.
Utilizing this method allows you to ensure your licensing information is keyverified and readily accessible for reinstallation or system repairs.
| Steps | Commands |
|---|---|
| Open Command Prompt | windows + R, type cmd |
| Extract Activation Info | wmic path SoftwareLicensingService get OA3xOriginalProductKey |
| Result Display | Activation Data Shown |
By following these steps, you can recover your activation details without any complicated software. Always ensure you have backups of important information to avoid future hassles.
First, log into your Microsoft account. Navigate to the Services & Subscriptions section. Here, you’ll find a list of all products linked to your account. Look for your operating system–besides the details, you should see the entry labeled as “keyverified.” This indicates that your activation code is indeed associated with your account, simplifying its retrieval.
If you’re unable to locate the license this way, check your email inbox for confirmation messages from Microsoft around the time of your purchase. Search for keywords like “activation” or “purchase.” These emails often include the activation code or instructions on how to retrieve it. If needed, utilize the recovery guide provided by Microsoft in its support section; it can give more insights on locating your digital assets.
Below is a table summarizing the steps to obtain your activation information efficiently:
| Step | Action |
|---|---|
| 1 | Log into Microsoft account |
| 2 | Navigate to Services & Subscriptions |
| 3 | Look for product entry labeled “keyverified” |
| 4 | Check email for purchase confirmation |
By following these steps, you can effectively handle the recovery process and ensure you maintain access to your essential software post-incident.
1. Backup Your Data: Before initiating a reinstall, save your vital files. Use an external hard drive or cloud storage for this purpose.
2. Create Installation Media: Download the Windows 11 Installation Assistant from the official Microsoft website. Follow the prompts to create a bootable USB drive.
3. Install the OS: Boot from the USB drive. Select your preferred language and time zone, and click “Install Now.” Opt for a clean install by choosing “Custom” installation, which allows you to format partitions if needed.
4. Setting Up Your System: After the installation is complete, follow the on-screen instructions. Choose your privacy settings and connect to a reliable network.
5. Activation: Input your product code during this setup phase. If you don’t have it ready, you can also enter it later through Settings > Update & Security > Activation.
| Step | Details |
|---|---|
| Backup | Secure important files before reinstalling. |
| Create Media | Utilize Microsoft’s tools for a bootable drive. |
| Installation | Prefer custom installation for better control. |
Choosing the correct strategy for reinstallation can be pivotal. Here’s a comparison of options for activation that you might consider.
| Method | Pros | Cons |
|---|---|---|
| Automatic Activation | Seamless process using digital license. | Requires prior activation on the same hardware. |
| Manual Input | Flexibility to activate on different devices. | Need to have the product code available. |
Have you ever misplaced your activation code? This can happen, especially during hardware upgrades. Utilize tools such as keyverified to safely document your codes for future use. This proactive step can save you from scrambling to piece things together when issues arise.
There are various online resources to assist with Windows 11 key recovery, ensuring that your activation process runs smoothly. Create a checklist of your software and settings to ease the transition after reinstallation, helping to reinstate your customized environment!


