Physical Address
Timertau, Pr. Respubliki 19, kv 10
Physical Address
Timertau, Pr. Respubliki 19, kv 10


In this setup guide, we’ll navigate the process of enabling the latest operating system tailored for high-performance tasks on a rejuvenated machine. Whether you’re gearing up for immersive experiences or tackling demanding applications, understanding the nuances of activation is vital. With the right tactics, you can ensure that your system is optimized for everything from casual browsing to resource-intensive tasks.
Many users find themselves baffled by the complexities surrounding OS licensing, particularly on custom setups. This guide breaks down everything you need to know about activating the latest OS for your refurbished computer without the hassle. From choosing the right key to properly configuring your device, we’ve compiled a detailed roadmap to help streamline your activation experience.
Throughout this article, expect a blend of actionable insights and practical recommendations that align closely with current gaming trends. We’ll also cover recent developments that make the latest OS a must-have for tech enthusiasts, including its compatibility with cutting-edge peripherals and enhanced security features. Pairing these insights with our setup guide will give you a solid foundation for getting the most out of your computer.
Before proceeding with your setup, it’s crucial to verify that your hardware meets the specifications required for the upcoming operating system. With the shift toward more advanced platforms, ensuring your components align with the prerequisites can save you time and energy.
The minimum requirements include a compatible 64-bit processor, at least 4GB of RAM, and a minimum of 64GB of storage. Additionally, the system must support Secure Boot and TPM version 2.0. These elements are essential for the added security features that the new interface brings. It is advisable to check these specifications against your current hardware, particularly when dealing with pre-owned builds.
Utilizing tools such as the PC Health Check app can streamline this process, providing insight into whether your machine is equipped to handle the updated environment. You can also run a manual inspection by accessing system settings and verifying each component’s specifications individually. This proactive approach ensures your experience remains smooth and efficient.
Moreover, when transitioning to the modern system, it’s beneficial to consider whether your software licenses are kept up-to-date. For those looking to procure keys verified for the new environment, ensure to select reputable sources to avoid complications down the line.
| Component | Minimum Requirement |
|---|---|
| Processor | 1 GHz or faster, with at least 2 cores on a compatible 64-bit processor |
| RAM | 4 GB |
| Storage | 64 GB or larger |
| TPM | Version 2.0 |
| Secure Boot | Supported |
Reviewing your system’s compatibility is an essential step in preparing for an upgrade. Being informed will enhance your overall experience and ensure a swift transition. Don’t overlook the importance of using a key verified source to secure your licensing, paving the way for a hassle-free setup of your new operating environment.
1. Purchase from Official Sources: The safest way to acquire a valid key is through authorized retailers, such as the Microsoft Store or certified vendors. This guarantees you’re getting an unadulterated product with full customer support. Be cautious when purchasing from third-party sites, as they may offer keys that are either invalid or already in use.
2. Volume Licensing: For individuals or businesses needing multiple licenses, exploring Microsoft’s Volume Licensing options can be beneficial. This route typically provides significant savings and simplifies key management across devices.
3. OEM Licenses: If you’re building or buying a new desktop setup, consider OEM (Original Equipment Manufacturer) licenses. These licenses often come at a reduced price and are tied to the hardware, making them ideal for new installations. Check with your hardware provider for options bundled with the purchase.
4. Educational Discounts: Students and educators may qualify for significant discounts on software. Programs like Microsoft’s Education offer free or discounted licenses through partnered educational institutions. Verify with your school or university to see what’s available.
5. Promotional Offers: Keep an eye out for promotional campaigns. Occasionally, software companies run limited-time offers that provide licenses at discounted rates. Joining newsletters or following tech blogs can keep you updated on such deals.
| Method | Pros | Cons |
|---|---|---|
| Official Purchase | Guaranteed authenticity, customer support | Higher cost |
| Volume Licensing | Cost-effective for multiple licenses | Complexity in management |
| OEM Licenses | Lower price with hardware | Tied to specific hardware |
| Educational Discounts | Significant savings | Eligibility requirements |
| Promotional Offers | Access to discounts | Limited availability |
Following these tips ensures you acquire a valid activation key, enhancing your experience while utilizing the latest software upgrades and features in your setup. Remember that a legitimate key not only supports your system but also maintains the integrity and security of your digital environment.
Setting up the latest operating system can seem daunting, but with a structured approach, it becomes manageable. Follow these steps to ensure a smooth installation process:
1. Check System Requirements
Before initiating the setup, verify that the refurbished system meets the minimum requirements: a compatible 64-bit processor, 4 GB of RAM, and 64 GB of storage. An additional TPM 2.0 chip is also mandated for this version.
2. Create Installation Media
Utilize the official Media Creation Tool available from Microsoft. This tool assists in downloading the OS and creating a bootable USB drive. Ensure your USB drive is at least 8 GB and formatted correctly. You can find the Media Creation Tool on the Microsoft website.
3. Enter BIOS Setup
Restart your PC and enter the BIOS by pressing the designated key (usually F2, Del, or Esc). Adjust the boot order to prioritize the USB drive. This step is essential to boot from the installation media successfully.
4. Begin Installation
Once the PC boots from the USB, select “Install Now.” When prompted, you can enter a valid product key, or choose “I don’t have a product key” to proceed with unactivated installation. The installer will guide you through configuring settings such as language, region, and keyboard layout.
5. Partition the Drive
If needed, you can create or modify partitions during the installation process. Allocate sufficient space for the system by considering the additional applications you plan to install.
6. Complete Installation
Follow the prompts to complete the setup process. This includes configuring your Microsoft account, system preferences, and privacy settings. Once finished, the system will reboot.
7. Finalize Configuration
After booting into the OS, check for updates. Go to Settings > Update & Security > Windows Update, and ensure all updates are installed for optimal performance and security. Install necessary drivers and gaming software to get your device ready for intensive use.
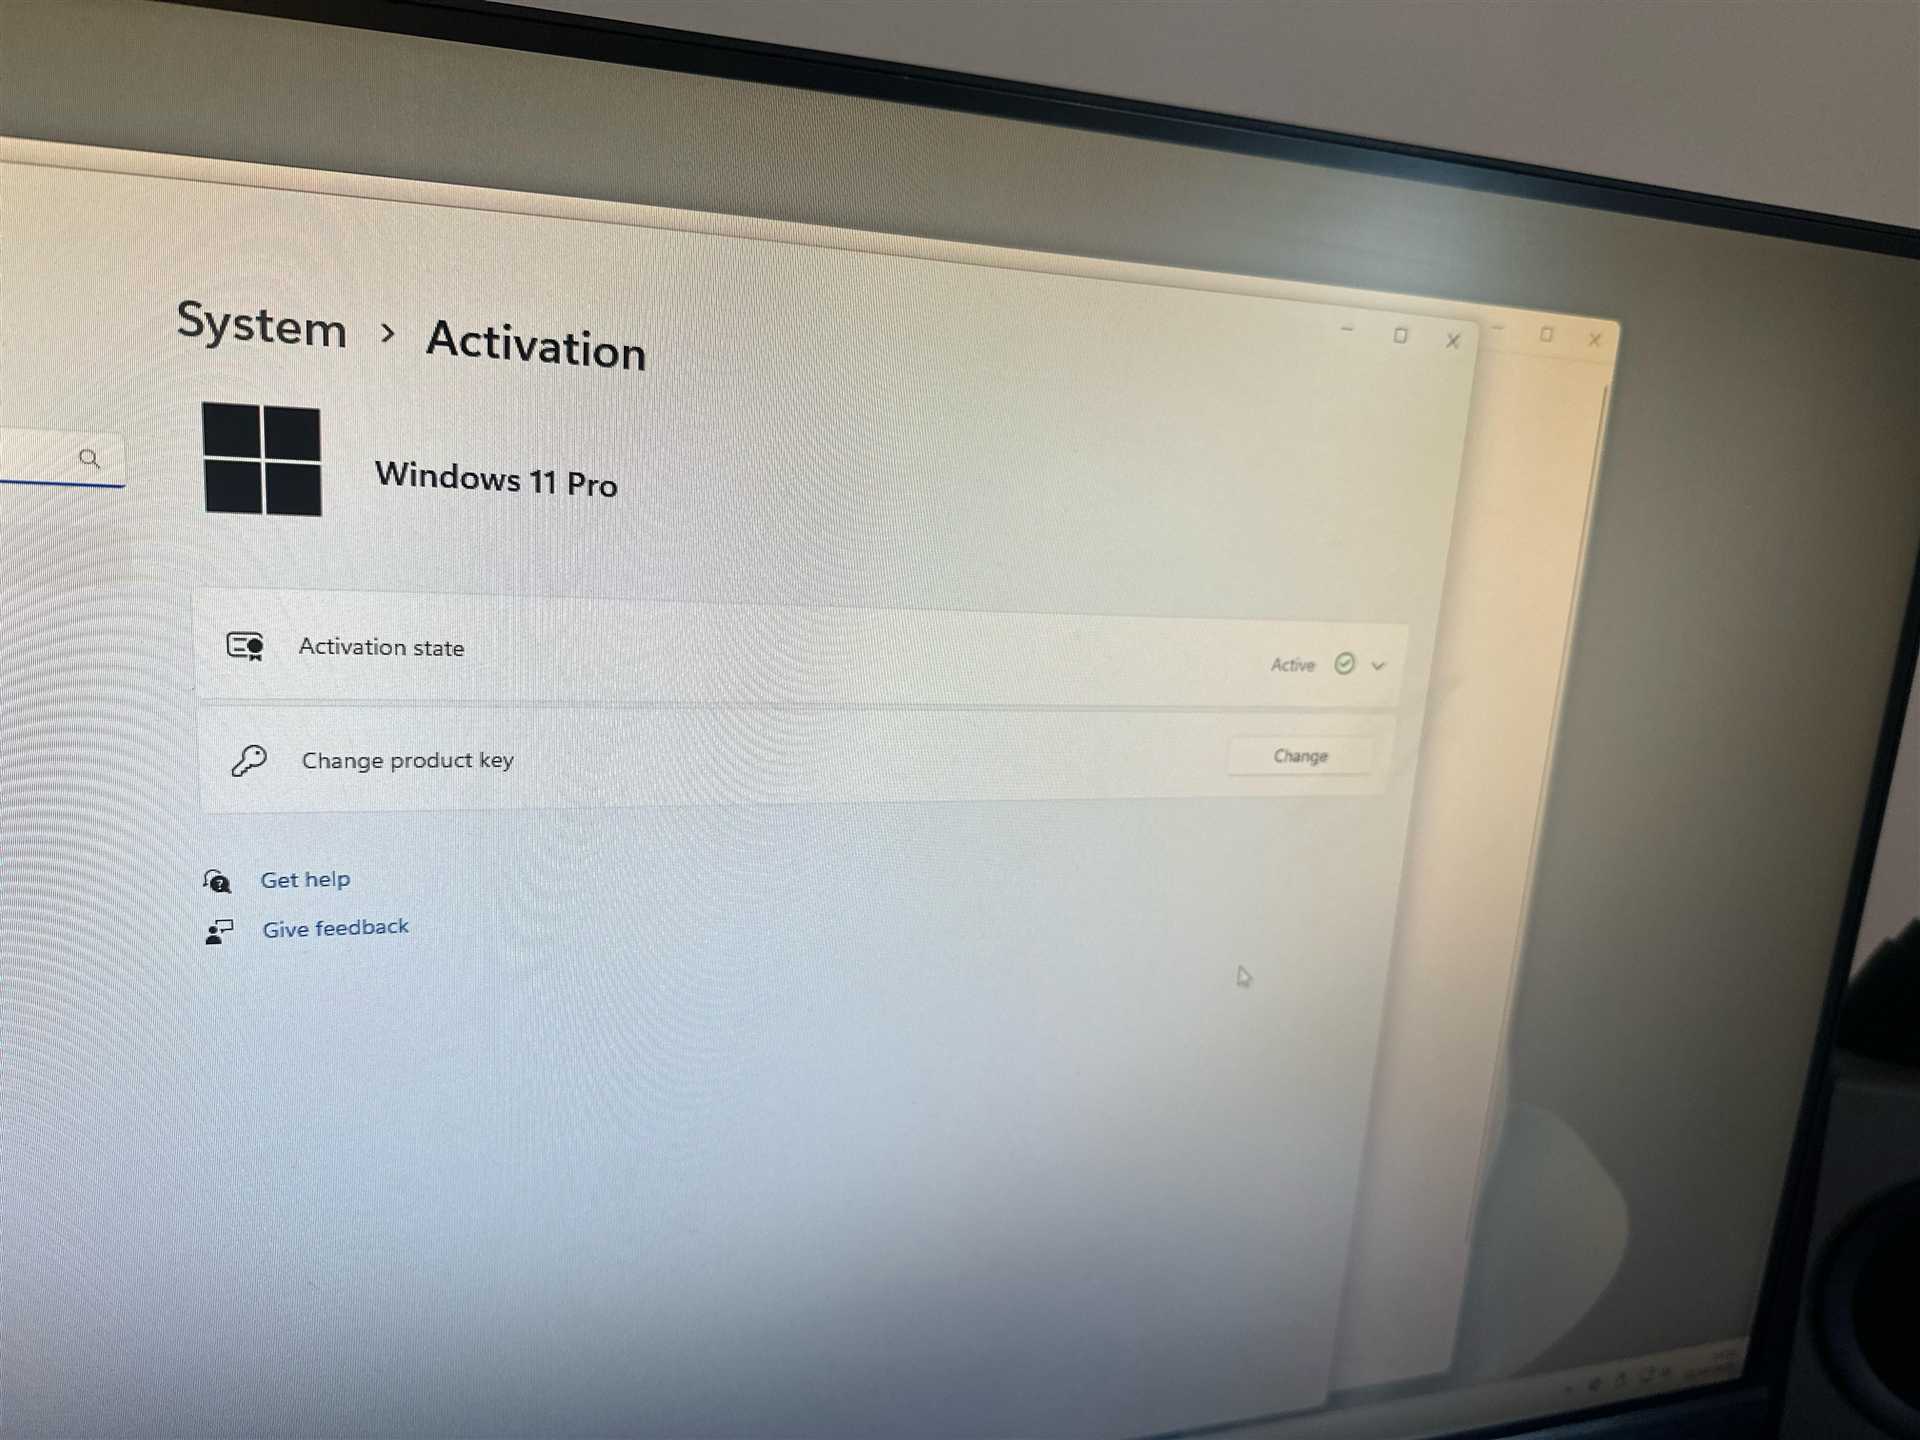
8. System Activation
Ensure that your copy is properly activated for seamless use. You can do this by going to Settings > Update & Security > Activation and entering a keyverified product key if you didn’t enter one during installation.
| Step | Description |
|---|---|
| 1 | Check system compatibility |
| 2 | Create bootable installation media |
| 3 | Set BIOS to boot from USB |
| 4 | Run the OS installer |
| 5 | Partition the hard drive as needed |
For detailed guidance and support on the installation process, you can visit the official Microsoft support page. Reference: Microsoft Support.
To start, make sure your device is connected to a stable internet connection. This will facilitate online verification, allowing you to access all features and updates efficiently.
Follow these steps to complete the authentication process:
| Step | Action |
|---|---|
| 1 | Open Settings |
| 2 | Select System |
| 3 | Click on Activation |
| 4 | Enter License Key |
| 5 | Restart Device |
If you encounter any difficulties during this process, consider checking the troubleshooting guide available on official support channels. It can often resolve issues related to the key entry or online authentication failures.
For gamers based in the US, following this setup guide will ensure you not only get a smooth user experience but also the latest updates and security patches tailored to enhance your playing environment.
Once completed, ensure your system is updated to benefit from the new features available in the latest version. Regularly check for updates through the Settings menu to stay up-to-date.
If you’re entering a key but receiving verification errors, consider the following steps:
| Issue | Possible Cause | Solution |
|---|---|---|
| Invalid Key | Typing error or wrong edition | Recheck entry and edition compatibility |
| Key Already Used | Previously activated on another device | Check if it can be deactivated on the original device |
| Software Not Genuine | Non-validated version of the OS | Acquire a verified installation from reputable sources |
A weak or unstable Internet connection can hinder the activation process. Here’s what to do:
Potential system issues may arise that prevent activation. To troubleshoot:
sfc /scannow in Command Prompt.Ensure the key or software you are using is from a reliable source. This includes legitimate retailers or direct from the manufacturer. For example:
Remember, troubleshooting can sometimes take several attempts, but thoroughness pays off. Follow this us setup guide, and you’ll be equipped to resolve most issues that arise.


