Physical Address
Timertau, Pr. Respubliki 19, kv 10
Physical Address
Timertau, Pr. Respubliki 19, kv 10

When configuring your workspace on a modern 5G device, streamlining the installation of your productivity suite is essential. Many users encounter challenges during the initial setup process, particularly if they are working with previously used machines. This guide will walk you through a smooth and efficient installation process tailored for your quiet 5G computer.
In the world of software installations, the concept of silent setup has gained momentum. It allows for an unobtrusive deployment of necessary applications, providing a distraction-free experience. By focusing on the silent installation method, users can keep their workflow uninterrupted while ensuring all required features of the suite are up and running smoothly.
This setup guide will provide you with step-by-step instructions and helpful tips to simplify the process. Whether you’re a seasoned tech user or a newcomer, understanding these methods will enhance your experience significantly. You’ll find that optimizing your workspace is just a few clicks away.
Before attempting to install your new productivity suite, it’s crucial to verify that your machine meets the necessary specifications. This will ensure a smooth setup without unexpected glitches. The following points outline the key requirements:
In addition to these specifications, verify your internet connection is stable. An uninterrupted connection is essential during the installation process, especially when considering options for the silent activation method later on.
After confirming that your device meets these criteria, you can proceed with confidence. To assist you further, here is a concise table summarizing the specifications:
| Component | Requirement |
|---|---|
| Operating System | Windows 10 or 11 |
| Processor | 1.6 GHz, dual-core |
| RAM | 4 GB (32-bit) / 8 GB (64-bit) |
| Storage | 4 GB of available space |
| Display | 1280 x 768 resolution |
Following this setup guide ensures that your installation experience is streamlined and stress-free. Be prepared with these specifications before moving forward with your installation and activation processes.
1. Purchase from Authorized Retailers: Buying from reputable stores or online platforms ensures you are getting a key that is both legal and functional. Look for vendors such as Microsoft or certified partners like SoftwareKeep. Always verify the seller to avoid counterfeit products.
2. Check Your Existing Licenses: If you have previously owned a key, it might still be usable. Retrieving old codes can be done through account management on the respective platform. Recycle those you aren’t currently using!
3. Online Code Generators: While some websites offer free keys, proceed with caution. Not all generators are trustworthy, and using them might lead to issues such as software not functioning correctly or even legal ramifications. It’s advised to stick with well-known services like keyverified for secure transactions.
4. Educational Discounts: If you are a student or affiliated with an educational institution, consider checking for discounts or free access through your school. Many universities have agreements that allow students access to software at reduced prices or even for free.
5. Community Resources: Online forums and tech communities may provide leads on legitimate product keys. Always ensure that these avenues adhere to legality and integrity standards.
| Method | Pros | Cons |
|---|---|---|
| Authorized Retailers | Guaranteed legality | Higher cost |
| Existing Licenses | No additional cost | Limited availability |
| Online Code Generators | Free options | Risk of illegality |
| Educational Discounts | Significant savings | Eligibility requirements |
| Community Resources | Possible free access | Unverified sources |
Ultimately, ensure that any key you acquire aligns with established guidelines to prevent future complications. Obtaining a validated key not only protects your investment but also guarantees full functionality.
Before you begin, ensure your system meets the necessary hardware specifications. A solid processor and ample RAM will enhance performance. Typically, a dual-core processor with 4GB RAM is sufficient for basic tasks, but 8GB is recommended for multitasking scenarios.
Here’s a quick breakdown of the installation steps:
| Step | Description |
|---|---|
| 1 | Purchase your productivity software from a reliable source, ensuring it’s compatible with your operating system. |
| 2 | Download the installation file from the official website or through the provided link in your purchase confirmation. |
| 3 | Run the installation file and follow the on-screen prompts to complete the setup. |
| 4 | Once installed, launch the application and proceed with silent activation using your product key. |
After installation, explore the features and customization options to tailor the workspace to your preference. Familiarizing yourself with the interface can significantly boost your workflow efficiency. To enhance your software experience, consider checking for updates regularly. This ensures you have access to the latest features and security patches, keeping your experience secure and efficient.
For further assistance or troubleshooting tips, consult the official support documentation available online. This resource provides valuable information and can answer specific questions about your software installation and usage.
To ensure smooth functionality on your equipment, follow these straightforward instructions for online verification:
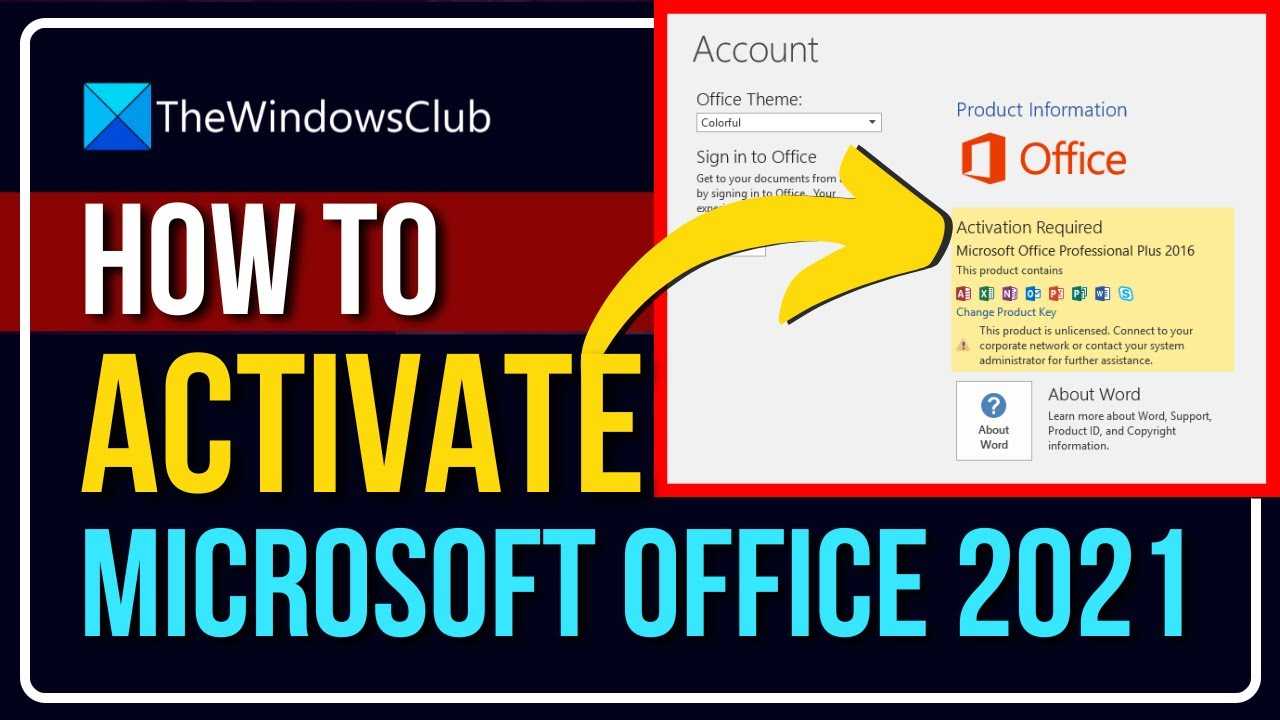
Step 1: Launch the Program
Begin by opening any application from the productivity suite on your device, like Word or Excel. This initiates the activation process.
Step 2: Navigate to Account Settings
In the top corner, locate the ‘File’ menu. Click on it and then select ‘Account’ from the sidebar menu to access your account setup options.
Step 3: Enter the Product Key
If you’re prompted, input your unique product number. Make sure this keyverified number is free from any typographical errors to ensure proper authentication.
Step 4: Connect to the Internet
A stable internet connection is indispensable. Ensure that your device is online, facilitating a seamless verification process.
Step 5: Complete the Verification Process
After entering the product information, a prompt should confirm your authentication. Follow any additional on-screen instructions to finalize your setup.
| Step | Action Required |
|---|---|
| 1 | Open any application like Word. |
| 2 | Go to ‘File’ > ‘Account’. |
| 3 | Input your product key correctly. |
| 4 | Ensure an active internet connection. |
| 5 | Follow the on-screen prompts. |
With these steps, your productivity software will function optimally. Access resources like Microsoft for further assistance if issues arise.
| Issue | Possible Solution |
|---|---|
| Invalid Product Key | Verify your key with keyverified services, ensuring it hasn’t been previously used or restricted. |
| Connection Errors | Check your internet connection; restart your router and try again. |
| License Limit Reached | Confirm that the license doesn’t exceed its activation limit and, if necessary, deactivate other installations. |
| Software Not Recognizing the Key | Make sure that you are inputting the key accurately, and try re-installing the software if issues persist. |
If activation fails repeatedly, consider reaching out to customer support for further assistance. They can provide specific guidance and access to troubleshooting tools that can pinpoint the root causes of the problem.
In the event of deeper technical issues, you might find valuable resources through established organizations like the Microsoft Support. Their resources often include guides and community forums that can shed light on unique activation challenges you might face during your process of software implementation on your upgraded 5G machine.
Being informed about common activation pitfalls not only prepares you for possible setbacks but also ensures a smoother experience as you integrate the essential tools for your professional or personal projects.


