Physical Address
Timertau, Pr. Respubliki 19, kv 10
Physical Address
Timertau, Pr. Respubliki 19, kv 10


Understanding the activation basics for productivity applications can significantly streamline your setup process, especially if you are working with limited hardware resources. While high-end machines often come pre-loaded with the latest software, budget systems may demand a bit more finesse. It’s crucial to utilize your resources effectively to access powerful tools without breaking the bank.
There are various ways to ensure your applications are activated correctly, and identifying the right methods can save you both time and money. Knowing where to look for valid activation options and how to troubleshoot common issues can make all the difference when you are operating within a restricted budget. By following straightforward steps and leveraging available resources, you can have your software running smoothly in no time.
In this article, we will cover the methods of activation suitable for less expensive setups, highlight recommended practices for avoiding pitfalls, and provide valuable insights to facilitate a seamless experience. Whether you’re a newcomer or have some experience, these strategies will empower you to maximize your computer’s potential.
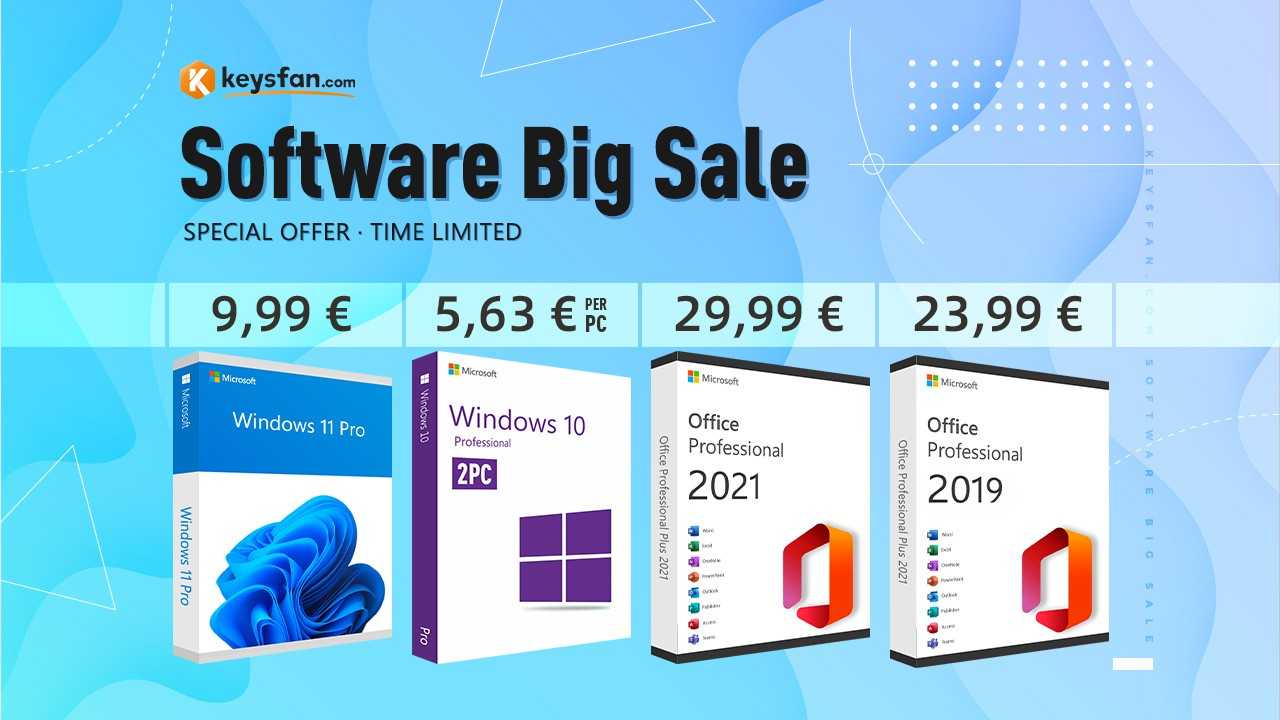
Selecting a software suite for your economical computer requires careful deliberation. Different editions offer various features that cater to diverse user needs, particularly for those who may not require advanced functionalities. It’s imperative to analyze the options available, emphasizing essential components without overspending.
The primary choices generally revolve around three editions: Home & Student, Home & Business, and Professional. Understanding the distinctions among them can help streamline your decision-making process.
| Edition | Primary Features | Ideal For |
|---|---|---|
| Home & Student | Word, Excel, PowerPoint | Students, casual users |
| Home & Business | Includes Outlook, all Home & Student features | Small business owners |
| Professional | Access, Publisher, additional features | Professional users needing advanced tools |
For budget-conscious buyers, the Home & Student version is often the most cost-effective option, equipped with fundamental applications necessary for everyday tasks such as word processing and spreadsheet management. On the other hand, if your needs extend to email and business management, the Home & Business edition is recommended. It includes Outlook, making it a solid choice for small business operations without incurring excessive costs.
Activation is another critical consideration. Activation basics often require an internet connection for online verification. Be cautious when purchasing from unauthorized vendors, as this can lead to potential issues during activation. Always opt for legitimate sources to ensure a hassle-free experience.
In summary, the right choice hinges on understanding your requirements and the specific features provided by each edition. This clarity will help avoid unnecessary expenses while ensuring that your computer remains functional and efficient for your needs.
For additional details on software options and features, see the official Microsoft website.
Before finalizing a purchase, always review the terms of use and ensure the source is trustworthy. Avoid offers that seem too good to be true, as they often lead to activation issues down the road.
| Source Type | Pros | Cons |
|---|---|---|
| Official Resellers | Reliable, genuine software | Prices may be slightly higher |
| E-commerce Platforms | Frequent discounts available | Variation in seller reliability |
| Third-Party Sellers | Potential for significant savings | Risk of counterfeit keys |
Setting up a productivity suite on less powerful devices can be straightforward if you follow these precise steps. Let’s explore how to install and activate this software with ease, focusing on activation basics.
1. Check System Requirements:
Before installing, confirm that your machine meets the minimal specifications. The application generally requires:
2. Download the Installer:
Purchase the software from a reputable source and download the installer directly from the official website. Ensure you have your product key accessible for activation during the installation process.
3. Run the Installer:
Locate the downloaded file, typically in your Downloads folder. Double-click the setup file to initiate the installation wizard. Follow the prompts to proceed with the setup.
4. Enter Product Key:
When prompted, input your product key accurately to validate the purchase. This step is crucial for legit activation and future updates.
5. Choose Installation Type:
Opt for a custom installation to select specific components that you may want to include or exclude. This can help save space on low-storage devices.
6. Start the Installation:
Click the install button and allow the process to finish. It may take several minutes depending on your hardware capabilities. Keep an eye on the progress bar.
7. Activate the Software:
Upon completion, launch the suite. If it doesn’t activate automatically, go to the “Account” section and select “Activate.” Here you can enter the product key again if necessary, ensuring everything is set up properly.
8. Installation Verification:
Verify successful installation by creating a new document. If the suite functions without issues, you’re good to go. If you encounter activation errors, refer to troubleshooting resources for assistance.
| Step | Action | Notes |
|---|---|---|
| 1 | Check System Requirements | Ensure compatibility |
| 2 | Download the Installer | Use official site only |
| 3 | Run the Installer | Double-click the setup |
| 4 | Enter Product Key | For activation |
Completing these steps will set you up for a productive experience on your underpowered device. With the basic activation in place, focus on optimizing your use of the productivity tools available.
Beginning an installation can sometimes lead to unexpected snags. Keeping activation basics in mind can ease this process significantly. Let’s discuss some prevalent hurdles and their solutions.
Activation Error Codes are among the most common complications. If you encounter code 0xC004C030, check your internet connection. Sometimes a spotty connection can disrupt activation. Ensure your device is online, then try activating again.
Missing Files can also halt your progress. If the installer indicates that certain files aren’t found, it may be due to a corrupted download. To resolve this, download the installer again, making certain that the source is reliable. Always use trusted platforms for your installations.
Compatibility Issues often arise, particularly if your operating system isn’t up to date. Verify that your system meets the minimum requirements. If you’re on an older OS, consider updating it or upgrading your hardware to avoid further complications down the line.
Account Verification might trip you up as well. If you see a prompt for your Microsoft account but can’t remember your credentials, take the time to recover your account details. This step is necessary, as proper authentication is needed for successful installation.
| Issue | Solution |
|---|---|
| Activation Errors | Check internet connection and retry activation. |
| Missing Files | Redownload the installer from a trusted source. |
| Compatibility Issues | Ensure your OS is updated and meets minimum requirements. |
| Account Verification | Recover your account details as needed. |
By addressing these common issues proactively, you can streamline the installation experience. When you encounter resistance, remember that persistence pays off. Enjoy the capabilities that your new software brings!

Optimizing performance on cost-effective machines requires strategic adjustments and insightful tweaks. Users often find themselves running powerful applications, yet the hardware limitations present challenges. Here’s how to elevate functionality without breaking the bank.
1. Adjust Visual Settings: Disabling unnecessary animations and visual effects significantly enhances responsiveness. In settings, reduce the graphic intensity, which can help free up system resources.
2. Background Processes: Limit the number of applications running simultaneously. Use the task manager to identify resource-hungry processes that can be closed or disabled from launching at startup. This will ensure that your main application runs smoothly without stutter.
3. Regular Updates: Keep your system and software updated. Developers often release patches aimed at improving performance and fixing bugs. Ignore them at your peril, as updates can often lead to a smoother user experience.
4. Optimize Storage: Regularly clean temporary files and other storage burdens. Using built-in disk cleanup tools can reclaim valuable space and enhance the speed of your applications. Consider a lightweight third-party option for deeper cleaning.
5. Upgrade RAM: If feasible, adding more memory can make a noticeable difference. Before purchasing, check the system’s specifications to confirm compatibility. More RAM allows for smoother multitasking and quicker program access.
| Action | Effect |
|---|---|
| Reduce Visual Effects | Improved Performance |
| Limit Background Apps | Better Resource Allocation |
| Regular Updates | Enhanced Stability |
| Storage Cleanup | Faster Load Times |
| RAM Upgrade | Smoother Multitasking |
6. Disable Unnecessary Add-ins: In applications, many add-ons can slow down processes. Periodically reviewing and disabling those that aren’t essential can streamline performance.
7. Utilize Lightweight Alternatives: Sometimes, using simpler, less resource-intensive applications can enhance the overall experience. When available, opt for lighter versions of software tailored for budget machines.
Applying these strategies makes a significant impact on performance, allowing users to work seamlessly. Don’t underestimate the power of ongoing optimization for your affordable machine.


