Physical Address
Timertau, Pr. Respubliki 19, kv 10
Physical Address
Timertau, Pr. Respubliki 19, kv 10


Looking for a reliable method to maintain productivity on your compact setup? The combination of keyverified resources and smart configuration methods can significantly enhance your experience. The unique challenge arises with the specific requirements of contemporary software platforms, particularly when leveraging them on a nuanced system designed primarily for entertainment.
While tackling the intricacies of software licenses, it’s vital to focus on precisely how gaming rigs can seamlessly integrate productivity applications. By utilizing effective strategies for the gaming activation of essential software, you can avoid the typical pitfalls associated with installation and key verification. Think of it as fine-tuning your system to ensure robust functionality while enjoying resource-intensive tasks.
This piece breaks down key insights, highlighting step-by-step techniques and practical tips to get you up and running smoothly. The objective is straightforward: ensure that even the most polished gaming environment can serve as a competent workspace. With the right approach, blending leisure and efficiency is not just a dream, but an achievable reality.

When selecting the right software for productivity, especially on powerful machines, it’s crucial to consider specific system specifications. Here’s a breakdown of the necessary requirements for smooth operation:
| Component | Minimum Requirement | Recommended Requirement |
|---|---|---|
| Processor | 1.6 GHz, 2-core processor | 2.0 GHz or faster, 4-core processor |
| RAM | 4 GB | 8 GB or more |
| Storage | 4 GB available disk space | SSD recommended for best performance |
| Operating System | Windows 10 or higher | Windows 11 preferred |
To ensure optimal performance while using productivity software, a robust setup is necessary. A multi-core processor paired with ample RAM will enhance responsiveness, especially when multitasking with demanding applications. As for the storage, solid-state drives (SSDs) significantly speed up loading times compared to traditional hard drives.
For those planning a keyverified option, ensure your device can handle the concurrent operations demanded by modern applications. This not only provides a seamless productivity experience but also guarantees compatibility with future updates and features. Having the right specifications is paramount for achieving a smooth and efficient work environment, particularly in a high-performance computing context.
Overall, aiming for higher specifications than the minimum can result in a noticeable difference in performance, leading to enhanced productivity and user satisfaction.
The setup of a productivity suite on your high-performance device can be smooth and efficient. Follow these steps to ensure a successful installation without hiccups.
Step 1: Check System Requirements
Before you begin, verify that your machine meets the minimum specifications. This includes having the latest OS version, sufficient storage, and RAM. For a seamless experience, 4GB RAM and 10GB of free space are recommended.
Step 2: Purchase a License
Select a legitimate vendor for your license. Options include direct purchases from Microsoft or authorized resellers like SoftwareKeep. Ensure you’re purchasing the correct version for your needs.
Step 3: Download the Installer
Log into your account on the vendor’s site and locate the download section. You may need to enter your product key to access the download link. Click to download the installation file.
Step 4: Run the Installer
Locate the downloaded file, typically in your “Downloads” folder, and double-click to run it. Follow the on-screen prompts to initiate the installation process. Choose your preferred installation type (standard or custom) based on your usage requirements.
Step 5: Complete the Installation
Allow the installer to complete the necessary configurations. This might take several minutes. Once finished, a notification will appear, confirming that the setup is complete.
Step 6: Start Using Your Suite
Open any application from the suite to verify that everything is functioning correctly. You may be prompted to sign in and activate your product via online methods. Use your credentials and follow the necessary steps for activation.
| Step | Description |
|---|---|
| 1 | Check system requirements |
| 2 | Purchase a valid license |
| 3 | Download the installer from vendor |
| 4 | Run the installer and follow prompts |
| 5 | Complete installation and verify |
With these steps, you can enhance your productivity with a robust suite tailored for multitasking. Enjoy the harmonious interaction between performance and productivity!
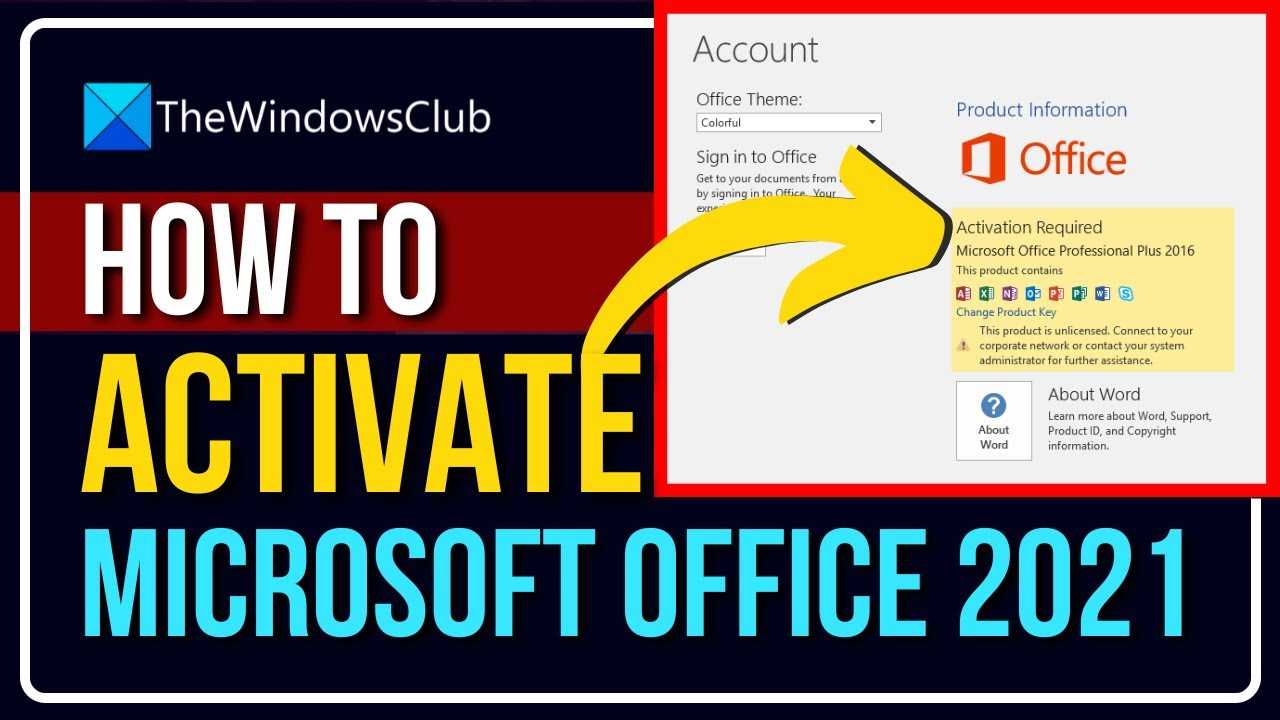
This traditional method utilizes a unique alphanumeric sequence that must be input during setup. Users benefit from direct control over licensing, ensuring that they retain access regardless of device changes. This process can take the form of:
For best results, ensure that the license purchased matches the required operating system and the application version on your device. A common pitfall is neglecting to verify the key type, leading to potential compatibility issues during installation.
A more flexible option, this method involves authenticating hardware and user identity rather than relying on a physical key. Once set up, users can restore their software through their Microsoft account, simplifying future transfers. Key features include:
Choosing between these two methods ultimately aligns with personal preference and usage patterns. Key activation may deliver straightforward control, while a digital license can offer convenience and peace of mind.
| Feature | Key Activation | Digital License |
|---|---|---|
| Control | High | Moderate |
| Transferability | Limited | High |
| Setup Complexity | Medium | Low |
| Backup & Recovery | Requires manual input | Automatic via account |
In summary, users should assess their needs and preferences before deciding on the activation type for their productivity applications.
One of the primary hurdles in software activation is the incorrect entry of the product key. Ensure that each character is entered accurately, and verify the key against your purchase confirmation. If you suspect it might be compromised or reused, consider obtaining a new one. A faulty key can lead to repeated failures during the validation phase.
Network configuration plays a pivotal role. If your internet connection is unstable, it may hinder online verification. Check your settings by running a connection test or switching to a wired connection temporarily. Also, ensure your firewall or antivirus isn’t blocking the activation server. Adjusting these settings can often remedy the situation quickly.
In some instances, prior installations can conflict with new software setups. It’s wise to remove any previous versions of the software from your system completely before proceeding. Use system preferences to uninstall and, if necessary, clean the registry entries using reputable tools. This clean slate approach often leads to a seamless setup.
For those using 24H2 versions, compatibility can become an issue too. Confirm that your machine’s current OS build aligns with the software requirements. Upgrading or patching your operating system may solve underlying discrepancies that prevent activation.
| Issue | Resolution |
|---|---|
| Incorrect Product Key | Verify and re-enter the key correctly. |
| Network Errors | Check your internet connection and adjust firewall settings. |
| Previous Installations | Uninstall prior versions completely. |
| OS Compatibility | Ensure your operating system is updated and compatible. |
If problems persist, reach out to the support team associated with the software. Providing detailed descriptions of the issue and steps taken can expedite the solution process. Regular updates to software frameworks may also introduce fixes for known activation issues, so keep your setup guide handy and stay informed on the latest patches.
1. System Resource Management
Check available memory and CPU usage through Task Manager. Close unnecessary background applications to free resources for your program usage. This simple adjustment can significantly improve responsiveness.
2. Update Software Regularly
Ensure that you have the latest updates for your applications. Regular updates not only introduce new features but also optimize existing functionalities and address performance issues. Opt for automated updates when possible.
3. Tweak Settings for Performance
Within the program, navigate to the options menu and adjust performance settings. Disable visual effects that consume resources, like animations and unnecessary toolbars. This modification leads to a cleaner interface and faster performance.
4. Use Cloud Integration
Utilize cloud services for storage instead of relying solely on local drives. Offloading data can reduce the load on system memory and improve overall performance, especially when working with large files.
5. Regular Disk Maintenance
Perform regular disk checks and defragmentation (for HDDs). This helps maintain smooth data access and retrieval times, which is vital for seamless operation.
Below is a comparison of resource consumption between optimized and default settings:
| Setting | CPU Usage (%) | Memory Usage (MB) |
|---|---|---|
| Default | 30% | 500MB |
| Optimized | 15% | 300MB |
Implementing these practices will enhance the performance and user experience on your device, making the work environment more productive and enjoyable.


