Physical Address
Timertau, Pr. Respubliki 19, kv 10
Physical Address
Timertau, Pr. Respubliki 19, kv 10


Nowadays, many features are integrated right into your Microsoft account. This means your machine can be set up to receive automatic updates without the hassle of entering codes every time. If you’re using a cloud-based activation method, it works seamlessly with your account to provide a smoother experience. Rather than fumbling with codes and retro tech, this method gives you a modern solution that’s built for today’s users.
One of the perks of the cloud approach is its online activation, allowing you to verify your software without any headaches. So, whether you’re reinstalling or upgrading, the software just knows it’s you, and you’re good to go! This way, you don’t have to worry about losing a slip of paper with a code or trying to remember where you stashed it. Isn’t that a refreshing change?
Have you ever thought about how your operating system keeps itself running without a hitch? One of the secrets lies in online activation and the way it ties to your Microsoft account. When you set up your system, activation happens seamlessly, linking your copy to your account. This means as long as you’re logged in, you can always restore access to your system, even if you change devices.
One of the shining benefits of this setup is that it allows for automatic updates. Forget about those annoying prompts that ask you to enter a key every time you want to install an update. With this approach, updates come straight to you, ensuring your system stays fresh and secure without any hassle.
Another cool feature is device binding. This means your system is registered to your specific device. If you ever need to reinstall or switch to a different machine, it recognizes that you’re the rightful owner and grants you access without complex procedures. It’s like having a VIP pass to your operating system!
For anyone exploring more about this topic, I highly recommend checking out the official Microsoft support page for detailed insights: Microsoft Support.
So, whether you’re a tech whiz or just someone wanting a smooth experience, this system brings a level of convenience that keeps things running stress-free. How great is that?
Activating your system with a digital certificate is a straightforward process, and I’m here to guide you through it! Whether you’ve just bought a new machine or reinstalled your software, these steps will ensure your device is all set to go. Let’s get into it!
The first thing you’ll want to do is log in using your Microsoft account. This is incredibly handy since it ties your activation to your personal account. Anytime you change devices, you can easily transfer your activation status!
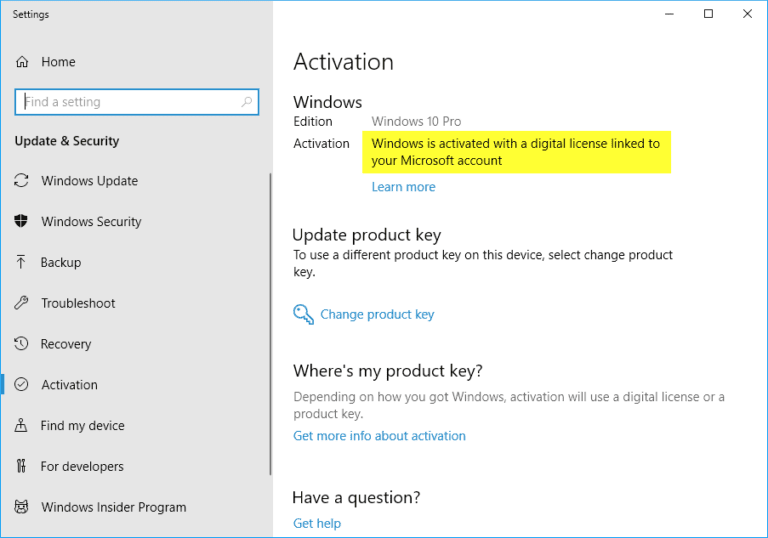
Your current machine should be linked to your Microsoft account. To confirm this, simply go to the settings section. If everything is linked properly, congratulations! You are one step closer to being fully activated.
For successful activation, make sure your device is connected to the internet. This is where the magic happens through online activation. Without a connection, your system won’t be able to validate the activation.
Ensuring you have automatic updates enabled is a great way to keep your system secure and up-to-date. Sometimes, updates may include vital components necessary for your activation process. So, keep those updates rolling in!
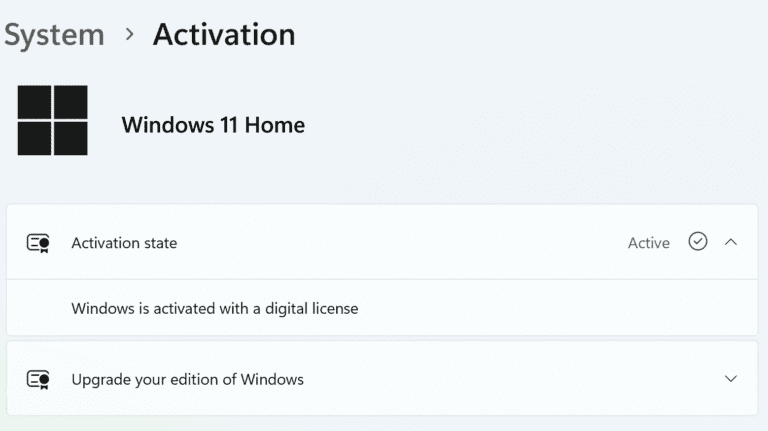
In the settings, navigate to the activation section. Here, you’ll find an option to activate your system. Just click it, and if everything is in order, your activation should complete without any hiccups!
After activation, you will see a confirmation message indicating that your device is activated. It’s like receiving a virtual high-five!
And there you have it! Follow these steps, and your system will be activated smoothly. If you ever switch devices or decide to reinstall your system, don’t worry! Just remember to sign in with your Microsoft account, and you’ll be good to go again. Happy computing!
Understanding the requirements for your activation code can feel like searching for a needle in a haystack. But don’t worry, I’m here to help you sift through that hay and find what you need! The first thing to know is that these codes typically come with your device. You might find it on a sticker, in the packaging, or even inside the documentation that came with your new gadget. Always check the manual; it might hold the secrets you seek!
Buying a new machine? Many manufacturers now tie the activation directly to the hardware, which is known as device binding. This means that your code is linked to the specific piece of equipment you purchased. If you’re upgrading or switching machines, this could complicate things. Read the fine print or contact customer service for clarity if you have doubts!
If you can’t find your code, don’t panic! You can usually obtain a replacement through the manufacturer’s website or customer support channels. Just make sure you have your purchase details handy–serial numbers, order confirmations, or anything that proves you really did buy the device. You might even find that online systems can help you retrieve your activation information if you’ve registered your product with them.
For those who prefer a cloud-based approach, note that many newer devices come with online activation options. This means you’ll enter your code once and let the system manage your activation for you. No more worrying about keeping track of a small piece of information! It’s like having a personal assistant to handle all the nitty-gritty details.
Once you have your code, the activation process is usually straightforward. Just follow the on-screen prompts, and remember to check for automatic updates afterward. Keeping everything up to date ensures your device runs smoothly and remains secure.
In case you’re curious about finding out more, Microsoft’s official support site is your go-to resource: support.microsoft.com
When it comes to how you can move around your authorization, there are notable distinctions between these two options. A digital authorization tied to a Microsoft account is relatively easy to manage. You’ve linked it to your online identity, which means as long as you can access that account, you can generally move your system to a new device without a hitch. All you need to do is sign in, and off you go!
On the flip side, an activation code holds a different kind of responsibility. This string of characters is more like a physical object; it’s confined to the specific computer it was used on initially. While you can change your hardware components (like RAM or a new hard drive), once it’s married to that machine, shifting it to another one isn’t straightforward. If you’re feeling adventurous and want to migrate to a different setup, you might be forced to go through a lengthy activation process again.
Another thing to consider is how updates roll in. With a cloud-based approach, you can also enjoy automatic updates for your system. If you’re using the digital option, updates come seamlessly as they’re linked to your account. However, with an activation code, you might need to ensure your version remains current manually, especially if you switch machines, feeling a bit like you’re stuck with the old-school way of doing things.
So, whether you’re a digital nomad or just someone who likes to tinker with hardware, knowing how these options stack up can save you from unnecessary headaches down the line. Keep your eyes on your decisions, and remember that the road to a smooth transition is paved with the right kind of authorization!
If you’re facing problems with activation, don’t worry; it happens to the best of us! Sometimes the system just feels like playing hard to get. Here are some steps to help you get back on track and ensure your device can be validated smoothly.
First off, make sure you have an active internet connection for online activation. If you’re offline, the process will not work, as your system needs to communicate with Microsoft’s servers. So, double-check your Wi-Fi or Ethernet connection before diving deeper into troubleshooting.
If you’re still having issues, the next step is to confirm that you’re using a Microsoft account linked to your device. This is super important since cloud-based activation relies heavily on that connection. Using a Microsoft account not only helps with activation but also keeps your settings synchronized across devices. If you’re using a local account, consider switching to a Microsoft account to see if that clears things up.
Device binding is another key element to consider. Ensure your hardware has not undergone major changes or upgrades. Changing components like the motherboard or hard drive may cause activation troubles, as the system identifies your device based on its hardware signature. If you’ve made updates, you may need to reactivate your license or troubleshoot further.
| Common Issues | Possible Solutions |
|---|---|
| No Internet Connection | Check your Wi-Fi or Ethernet cables are connected properly. |
| Using a Local Account | Switch to a Microsoft account for easier cloud-based activation. |
| Recent Hardware Changes | Re-check if the new components are recognized and reconfigure if needed. |
| Activation Errors | Visit Microsoft’s support page for error code assistance. |
Lastly, if you’re stuck after all these attempts, don’t hesitate to reach out for help. Customer support can provide guidance to resolve any pesky activation issues you might face.
Just keep a good attitude; tech troubles can be annoying, but they can usually be sorted out with a little patience! Happy troubleshooting!


